Table of Contents
ToggleFamiliarize yourself with common crafting terms.
I’m sure that you’ve noticed in the crafting world, we use a lot of lingo in terms that can kind of sound like a foreign language when you’re just getting started. So this article is dedicated to defining a lot of those terms for you. So let’s get started, we’ll talk first about the terms related to the digital side of crafting.

Design space is Cricut design software that you can also get in a mobile app where you can customize ready to make projects and create your own designs to use with your Cricut Machine. Within Cricut design Space, you’ll spend the most time on the Canvas screen. In the Canvas, you can customize ready-to-make projects as well as create your own designs. When your design is finished and ready to be completed, you can click the green Make It button to take you to the prep screen. On the prep screen, you can make any changes that you need to make to your mat, such as adding project copies or even mirroring your design, if you’re working with iron-on. Once you’re finished making those changes, you can click the green Continue button to take you to the final screen, which is called the Materials Selection screen.

In the Material Selection screen, you can select the Cut setting that you want your Cricut to use, or the Draw setting if you’re going to be using the pen feature of your Cricut. Outside the Design Space, you’ll hear a lot of crafters refer to an SVG.

SVG is a file type that means scalable vector graphic. And it’s a great file type to upload into Cricut Design Space because no matter how large or small you make your projects, SVG files retain the same amount of quality.
Firmware is the operating system of your machine. Like any device with an operating system, it’s really important to update your firmware regularly, to make sure that your machine runs as well as it can. Cricut Access is a monthly or yearly subscription to the Cricut image Library within Cricut Design Space. Cricket Access gives you free rein to over 100,000 images, thousands of ready-to-make projects over 500 fonts. It also provides discounts on Cricket products, shipping and designs.
Now let’s talk about terms related to materials and projects. Vinyl is a material with an adhesive or sticky backing that a lot of people use to create decals and stickers. Transfer tape is a sticky tape used to transfer vinyl designs from the backing to the final project without messing up the design. Iron-on is the most common material used to create designs on fabric. You’ll hear a lot of people refer to this also as heat transfer vinyl or HTV, but those three terms, heat transfer vinyl, HTV, and iron-on are all interchangeable and mean the same thing. A carrier sheet is the heat-safe version of transfer tape used for iron-on. Carrier your sheets are usually already attached to the iron-on, as opposed to regular transfer tape that you have to apply yourself. You’ll hear a lot of people refer to placing the shiny side down whenever you’re cutting iron on, and when people are actually referring to is the carrier sheet.

Blanks are items without designs that can be decorated with a variety of materials, including vinyl iron-on and infusible ink. Blanks is kind of a broad term that can refer to a lot of different things, but some blanks that you may already be familiar with are things like t-shirts, glassware, mugs, and even pieces of wood to make signs. Infusible ink is a material that actually fuses ink into the fabric itself. It’s a lot like sublimation ink, if you’re familiar with sublimation.
Keep in mind whenever you’re crafting with infusible ink that you have to be sure to have high polyester or polyester coated blanks in order for the project to be compatible. To weed, or weeding, refers to remove the excess material from around the design a Cricut has just cut. You’ll have to weed your design anytime that you craft with vinyl, iron-on, or infusible ink. Burnished means to rub or apply pressure to two things to help them stick together. You’ll usually hear people refer to burnishing when they’re talking about applying transfer tape over top of vinyl and using the scraper tool to help the two stick together, or burnish. Working with layers means to work with more than one color of a material in the same project. As a beginner, you’ll want to work with as few layers as possible until you get a little bit more comfortable. I hope that you are more comfortable now with a lot of crafting terms.
Identify the equipment & supplies you’ll need to get started.
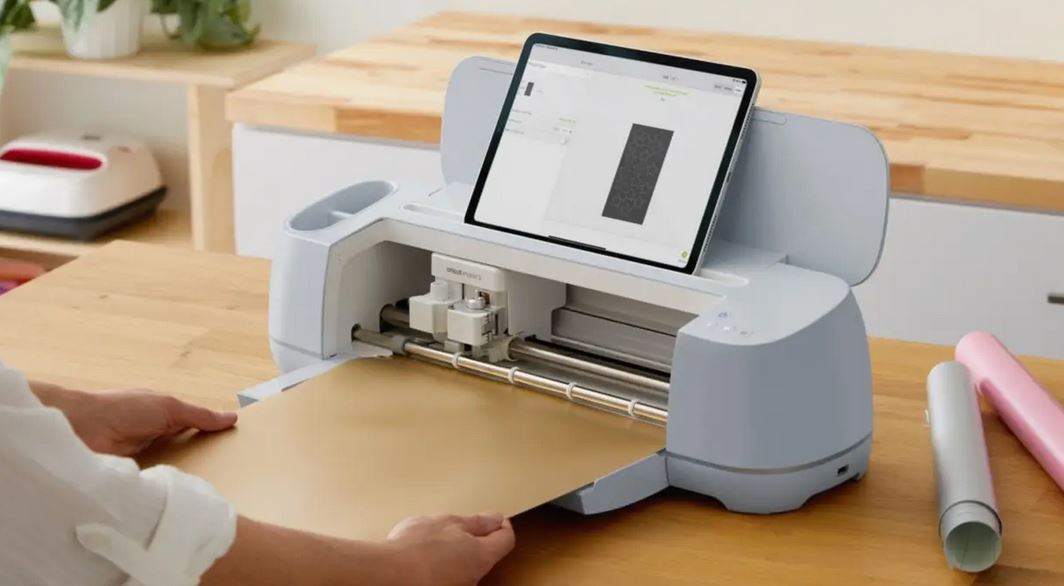
Let’s talk about equipment and supplies that you need to get started with the best part of owning a Cricut machine, making. So to begin, of course, you’ll need a Cricut machine as well as a device to operate Cricut Design Space. This could be a computer or laptop, smartphone, or even a tablet. Next you’ll need some material to cut with your Cricut machine. This could be a variety of materials including vinyl, iron-on, fabric, or even paper. You’ll also need a map to, apply your materials to, to insert it into your Cricut machine.

The way the mats work is the Cricut mats are sticky and they hold the material in place so that your machine can cut them super precisely. The only exception to this rule is when you’re working with smart materials. Smart materials are the only materials that don’t require a mat. Next you’ll need some tools, including a scraper tool, a weeding tool and probably a pair of scissors. You’ll use these to remove any excess material away from the cut that your machine has just made.

Next, you’ll need something to apply those materials to. Things that can be personalized with materials are referred to as blanks. Blanks can be a variety of things, and they include things like t-shirts, glassware, a piece of wood or even plastic. And if you’re working with iron-on, you’ll also need an EasyPress and an EasyPress mat.
This will act as the heat source so you can actually apply the iron-on onto your blank. I hope that you know exactly what you need to get started making after reading this article.
Match the right mat to the job.
Let’s talk about mats in your Cricut Machine, why you need them and how to keep them on lasting as long as possible.
Cricut mats are necessary in your Cricut Machine because they hold the material in place. This way, either the Cricut blade or pen can either cut or draw on the material super precisely.
The only exception to this rule is if you’re working with Smart Materials. Smart Materials do not require a mat. There are a variety of sizes of mat that you will want to use depending on the size of your project. For the Cricut Explore Air 2 and the Cricut Maker, the typical mat size is 12 inches by 12 inches, but there is also a 12 inch by 24 inch mat available. It’s great for longer cuts or bigger designs. The Cricut Joy, of course, has its own size of mat that works specifically in the Cricut Joy machine.
There are four varieties of group for the mats for the Cricut Explore Air 2, and the Cricut Maker. The light grip mat is blue and it works best with thinner materials.

This could be materials like printer paper or thin cardstock. The standard grip mat is green and it works best with medium weight materials, such as medium cardstock, vinyl, and iron-on.
The string grip mat is purple and it works best with thicker materials, such as glitter cardstock, faux leather or even posterboard. And lastly, the fabric grip mat is pink and it works well with any kind of fabric. To keep your mats sticky for as long as possible, it’s best to keep track of the clear film that comes on your mat and replace the film on top of the mat any time the mat is not in use. It’s also handy to keep the scraper tool nearby in case you need to remove any bits that get left over from your cuts that are still on your mat.
I also recommended having the spatula tool nearby. This way, if an intricate ct gets a little bit stuck on your mat and its hard to remove, you can use the spatula tool to remove it without damaging your design, especially for designs like cardstock projects.
When your mat is no longer holding your materials easily, that’s either time to clean your mat using hot water and dish soap or replace your mat. I hope they are more comfortable now using mats with your Cricut machine. Don’t miss out on all the other great articles that Cricut has for you, so that you can keep on learning your Cricut machine and keep on making.
Download the right application for your device(s).
-Did you know that you don’t have to use Cricut Design Space on a laptop or a computer?
Lets talk about all of the devices and apps that you can use with your Cricut machine.
Using the Cricut Design Space app on either a desktop or a laptop computer will give you the full experience since all the design features are available. You can browse ready-to-make projects, read instructions, and even see projects that members of the Cricut Community have shared. If you want to work from a mobile device, you can also use the Cricut Design Space mobile app.

It works with you both smartphones and tablets. When working with the mobile apps, the toolbar that you were used to seeing at the top of the Cricut Design Space is now at the bottom of the screen.
Under Action, you’ll find controls for grouping, attaching, welding, slicing, and so forth.
Under Edit, you’ll find all the options to undo, resize, flip and aligned your images and text. You can also tap Layers to see the layers panel that is normally on the right-hand side of the desktop app.
If you’re working with the Cricut Joy, you can even design in the Cricut Joy app. Its an app that has a very streamlined version of Cricut Design Space. So it’s great for beginners, especially if designing as a challenge for you. You can browse ready-to-make or templates for projects like cards, labels, iron-on vinyl stickers, and much more. You can also design on your own if you prefer. With all these options, it’s easy to get making in Cricut Design Space.


