
Optimizing network settings is crucial to ensure a seamless online experience. Whether you’re working from home, gaming, or simply browsing the web, a well-tuned network can make a significant difference. In this comprehensive guide, we’ll walk you through the step-by-step process of optimizing your network settings, accompanied by screenshots for easy understanding.
Assess Your Current Network Performance
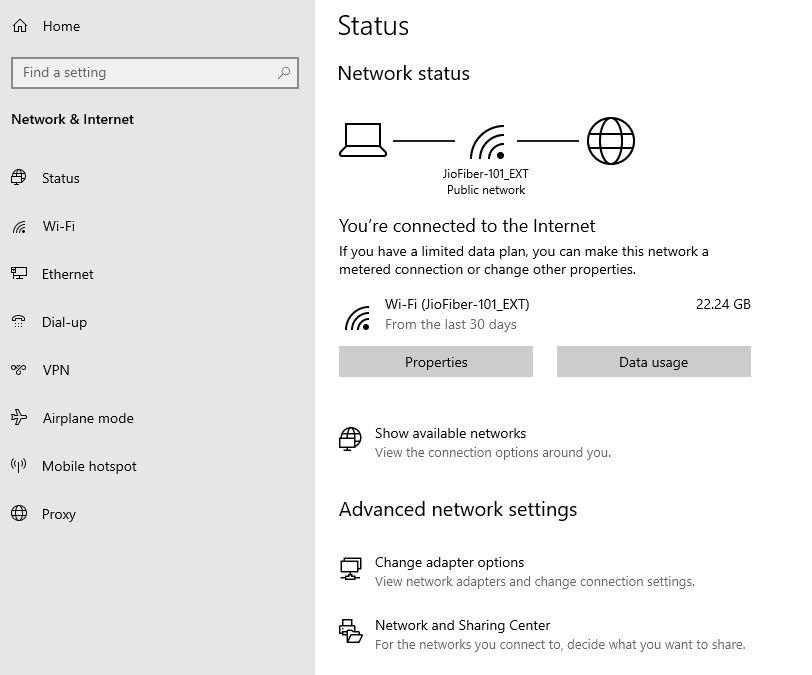
Before diving into optimizations, it’s essential to assess your current network performance. This can be done using built-in tools on your device. On Windows, navigate to “Settings” > “Network & Internet” > “Status.” For macOS users, go to “Apple menu” > “System Preferences” > “Network.” Look for indicators such as signal strength, speed, and latency.
Choose the Right Network Type
Ensure that you are connected to the optimal network type for your needs. If you’re working from home or engaging in bandwidth-intensive activities like online gaming or video conferencing, a wired Ethernet connection is preferable. For wireless connections, prioritize the 5GHz band over 2.4GHz for faster speeds and reduced interference.
Update Network Drivers
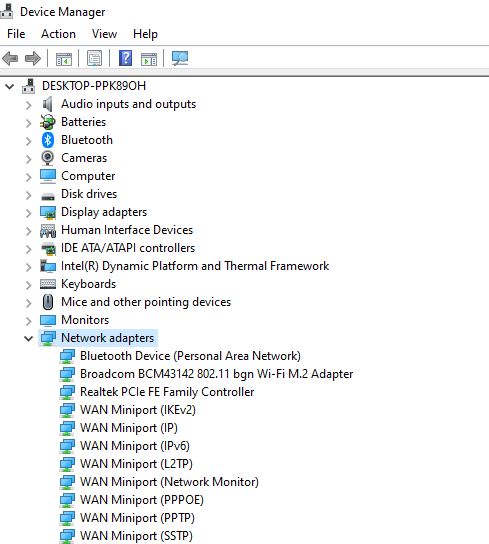
Outdated network drivers can hinder performance. Regularly check for updates from your device manufacturer’s website or use built-in tools like Windows Update. Updated drivers often come with bug fixes and performance enhancements.
Optimize Router Settings
Access your router settings by entering its IP address into your web browser. Common addresses include “192.168.0.1” or “192.168.1.1.” Consult your router’s manual for specific details. Once logged in, optimize settings such as Quality of Service (QoS), which prioritizes certain types of traffic for a smoother experience.
Adjust DNS Settings
Changing your DNS (Domain Name System) server can result in faster and more reliable internet connections. Consider using public DNS servers like Google’s (8.8.8.8 and 8.8.4.4) or Cloudflare’s (1.1.1.1).
Manage Bandwidth-Hogging Applications
Identify and manage applications that consume significant bandwidth. On Windows, open the Task Manager (Ctrl + Shift + Esc), navigate to the “Network” tab, and close or limit the bandwidth of resource-intensive applications.
Enable Quality of Service (QoS) Settings
Many routers come with QoS settings that allow you to prioritize specific types of traffic. This is particularly useful for online gaming or video streaming. Access your router settings and locate the QoS section to configure priorities.
Adjust Power Management Settings
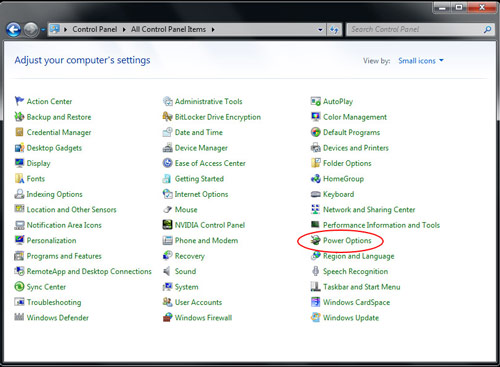
On laptops, power management settings can affect network performance. Head to “Control Panel” > “Power Options” and choose a power plan that doesn’t compromise network performance. Adjust advanced settings to ensure the device maintains an active network connection even when on battery power.
Secure Your Network
Ensure your network is secure to prevent unauthorized access and potential slowdowns. Use WPA3 encryption for Wi-Fi passwords and regularly update your router’s login credentials. Disable WPS (Wi-Fi Protected Setup) for added security.
Monitor Network Usage
Keep an eye on your network usage to identify potential issues or resource-heavy applications. Utilize built-in tools or third-party applications to monitor data usage and network performance.
Screenshot 10: [Include screenshot of network monitoring tool]
Optimizing your network settings is a proactive step toward ensuring a smooth and efficient online experience. By following these steps and referring to the accompanying screenshots, you can fine-tune your network for optimal performance, whether you’re working, gaming, or simply enjoying online content. Regularly revisit and update these settings to adapt to changes in your online activities and ensure a consistently high-quality connection.