Table of Contents
ToggleHome Screen Overview
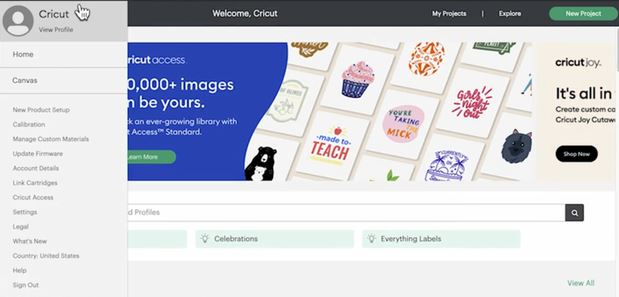
This menu helps you navigate between the home screen and the canvas. Set up new machines, change your measurement settings and update your community profile here.
At the top of the screen, you can access your saved projects, select your machine if you have more than one or start a new project and the top ribbon highlights projects campaigns and sales. Below that, we have our universal search bar where you can search images projects and even Cricut member profiles, all at once or you can use project categories to explore the created projects.
Here you can explore featured or trending images. These images, which Cricut changes regularly, are often associated with upcoming holidays or occasions.

Here is a ribbon of your completed, or in progress, projects. Click on ’Edit’, or to ‘Share’, or click ‘New Project’ to start a new canvas.

If you need some guidance or instruction, watch short videos here without leaving the home page and finally, these are project ideas created by trending teams, as well as community projects that you can make for customers.

There are so many cool ideas being developed by Cricut design teams and being shared by your community members. This is a great place for inspiration.
Top Left Side Menu
This section will cover menu in the top left hand corner of your design space home screen;.
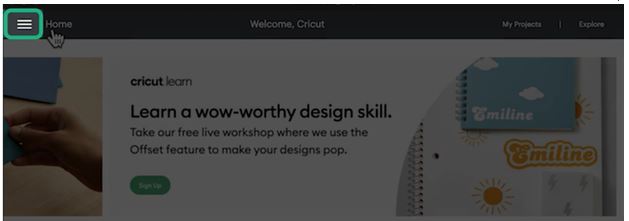
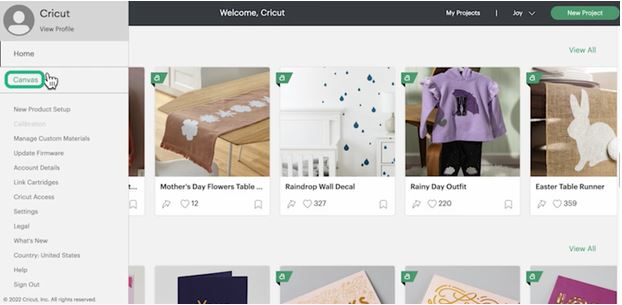
You can click into it from the home screen Canvas or ‘Prep’ screens.
You can access your profile, explore a series of different settings and find a link to our help center and sign up for Cricut access.
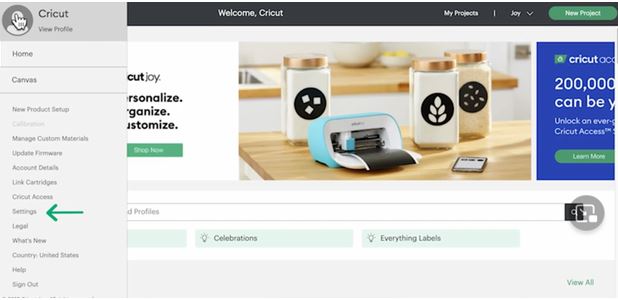
You can learn about the latest features update your firmware and set up new machines. Most of the time, you will be using the ‘Main Menu’ to switch between your home screen, which is designed to inspire you with choices and the canvas.
Canvas Overview
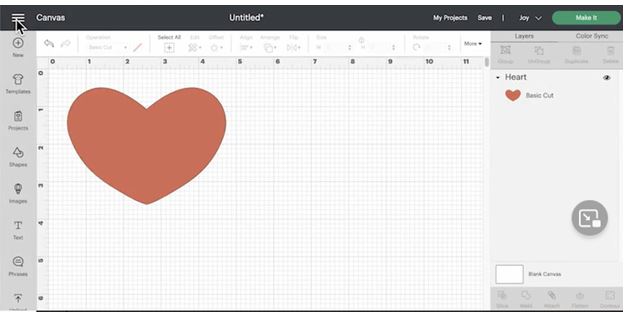
Canvas is where you will be spending most of your time in design space. This is where you get to create or customize your projects. This guide will focus on navigating the screen and understanding all of the features and tools of the canvas. You can access the canvas from the ‘Menu’ from the top left hand corner of the screen. You can also get there by starting a new project or selecting ‘Customized’ in a ready to make a project.
In this guide, we look at the canvas itself, the gray bar at the top, the edit bar the design panel on the left side and the layers panel to the right. This area includes ‘My Projects’ where you can access work. If you have already completed or started work, here is where you save your work. In case you have more than one Cricut Machine, this is where you select which machine you are using. Selection will adjust, content available to you.
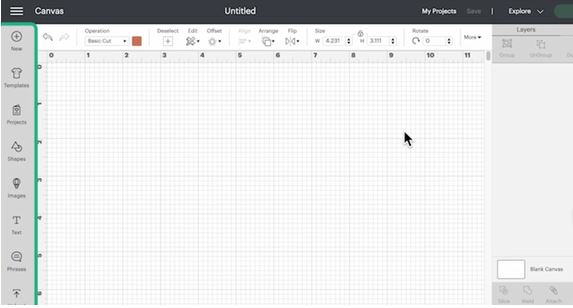
The canvas is where you will manipulate Design Elements, including images, text and shapes to make your T‘, you can zoom in or out using the ‘+’(plus), or ‘-‘(minus) at the bottom left. These guides show you the size of your design; you can change between ‘Standard’ and ‘Metric ‘sizing under settings, in the top left. You can move, rotate, delete or resize.
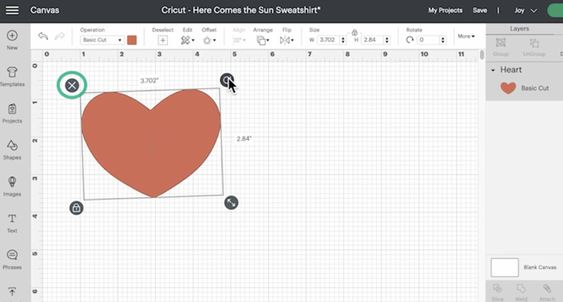
Your Design Elements.
This proportion box allows you to change or maintain the ratio of the height and width as you resize your image. On the left side, you find the design panel. This panel will help you populate your canvas with templates; this will be working with ready to make projects, thousands of images, tools to add text and shapes and uniquely designed phrases. This is also where you can upload your own images.
The ‘Edit’ bar at the top of the canvas gives you many options for manipulating your design. It will provide you with different tools when you’re working with images or text, like font selection operation. Type cut. First, draw an image, position size and orientation. This is the layers panel, which displays each layer of the elements on your canvas.
You can group duplicate, delete or just hide from ‘The View’ each layer while designing. You can also use the action icons at the bottom of the layers panel to customize your design even more.
Top of the Canvas
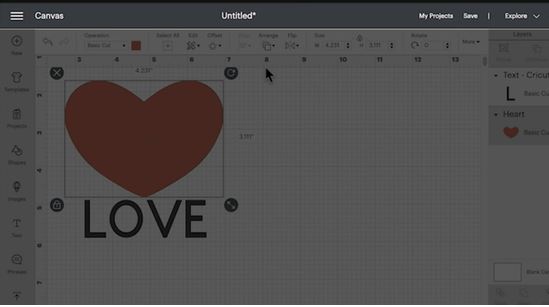
In this section we cover this area at the top of the canvas, starting on the left side ‘Menu’, which you can use to navigate design space or access different settings and next it shows your project name, there is a little star next to your project name, it means that there are unsaved changes. To the right ‘My Projects’, which will bring you to all that you, have saved Projects.
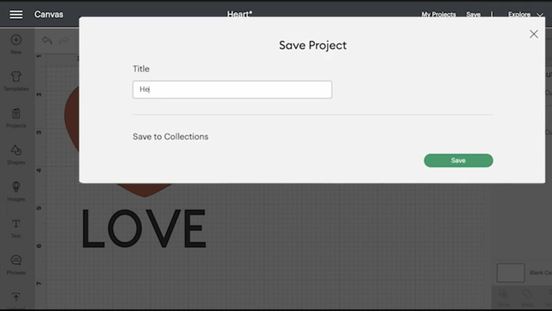
Use the ‘Save’ button to name or save your project. Remember to save your projects often especially when moving between screens. It’s a good habit to save your project before clicking.
In case you own more than one Cricut Machine, the ‘Machine Selection Menu’ allow you to select, the Cricut Machine you use for each project. The ‘Machine Select’ controls, which are ready to make projects and design functions, are available to you. So it is a good idea to confirm you have the correct machine selected for the project you have in mind. And finally, the ‘Make it’ button, takes you from the canvas to the prep screen. This is where you specify the instructions that will be setting to your cutting machine.
Design Panel Overview
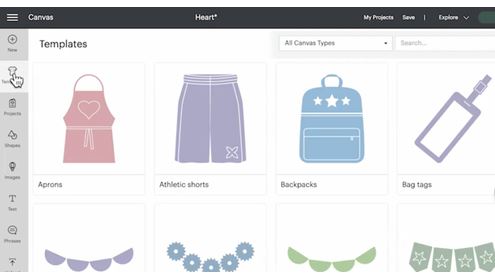
In this section, we cover the design panel on the left side of the canvas. Templates allow you to insert guides that match the blanks you will be working with. This can be useful for sizing design templates. that Include t-shirts, aprons tags and ‘More Projects’ is where you find ready to make designs created by our team for a variety of occasions and applications as well as projects created by community members. It contains thousands of images that you can use to create your own designs. Click images to find filters you can use to narrow down your search. For example, when you’re first starting out, it can be helpful to work with simpler images and narrow your search by selecting’ Layers’.
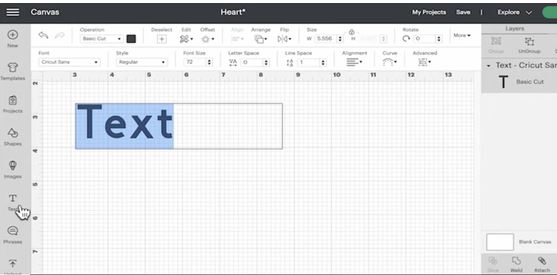
Clicking ‘Text’ will allow you to type anything you like on the canvas. Once you add ‘Text’ to the canvas and select it, a text at a bar will appear under the main at a bar with options. Like fonts Styles spacing curvature and more shapes has a series of standard shapes. These can be useful as backgrounds. Remember, you can customize these shapes by adjusting their size and aspect ratio by toggling the proportion lock and the size panel of the toolbar, or at the bottom left of the shape. When it is selected, this is useful for changing the dimensions of the rectangle,
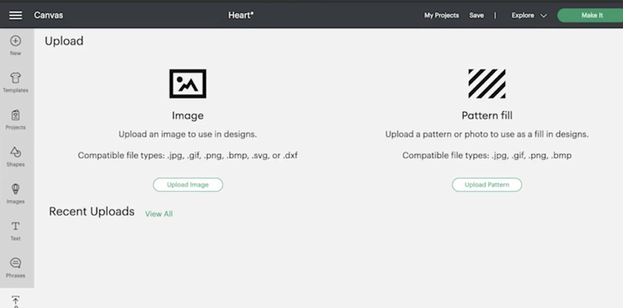
Finally, upload your own images in compatible file types for truly personalized projects.
Canvas Tool Bar
In this Section we cover the ‘Edit’ bar on the canvas. It gives you many options for manipulating your design and will populate with different tools when you’re working with different design elements. ‘Undo’ and ‘Redo’ offers an easy way to go back.
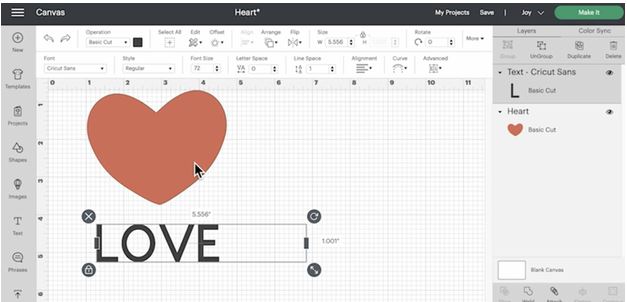
A step in the design process choose ‘Cut’ or ‘Draw’ options with this drop-down under operation. This box allows you to choose or change the color of your material. Select all highlights and the elements on your canvas together. ‘Cut’ or ‘Copy’ Elements by clicking on the ‘Edit’ icon offset. This allows you to create a background for your Design.
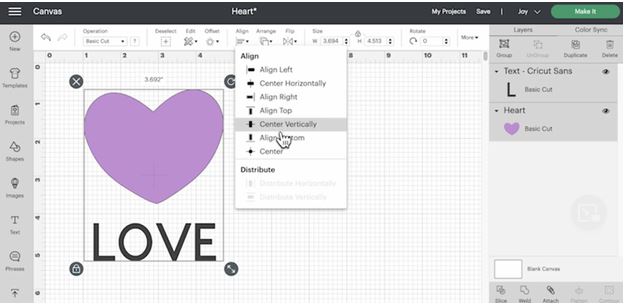
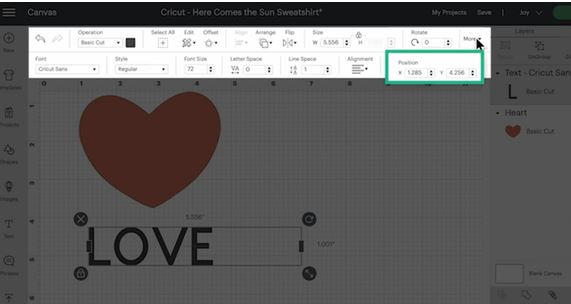
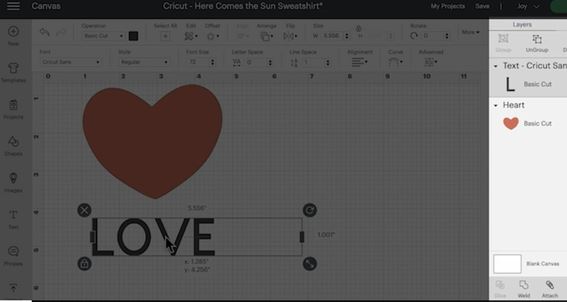
This alignment drop down helps to align or center multiple design elements. The arranged panel can move layers to the front or back of the canvas. Use this function to flip an element horizontally or vertically. Here, you can precisely change the width or height of your image, keeping the proportions consistent or you can change each dimension independently, after opening the proportions lock. Use the ‘Rotate’ function to rotate images, or text. Finally, ‘Position’ is useful for precisely lining up multiple elements on the X and y-axis. Keep in mind that many of these operations can be done in different ways. For example, moving or resizing can be done by grabbing with your mouse or dragging the corner of your design element. However, the ‘Edit’ menu allows you more precision when you need it. When working with text you get an additional tool bar. It allows you to select font style size letter and line spacing. You can align to center right or left and also curb your text note that the curve option will disappear if your text is on more than one line. Finally, advanced options will allow you to ungroup certain elements on your canvas.
Layers Panel Overview
In ‘Layers Panel’ on the right side of the canvas each of your ‘Design Elements’ will appear as a unique layer. In this panel once highlighted, you can group ungroup, duplicate, or delete layers using the icons at the top of the panel. You can use the eye on the right side of each layer to hide that layer.
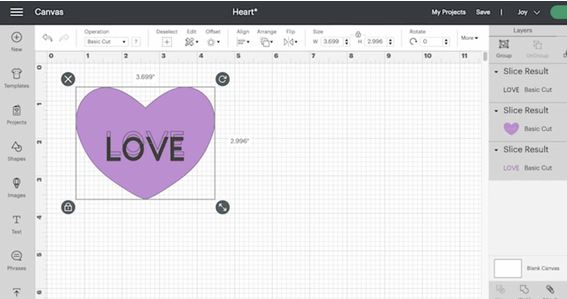
This can be useful, if you are not ready to delete a layer, but want to see your project without that design on it or you want to only send part of your design to the cutting machine. A yellow warning triangle will appear if your design is incompatible with the cutting machines you have selected. For example, if a layer is too big for this machine, the bottom of the layers panel includes the powerful slice. Attach flattened and ‘Contour’ tools, they allow you to combine or remove design elements in different ways.
Prep Screen Overview
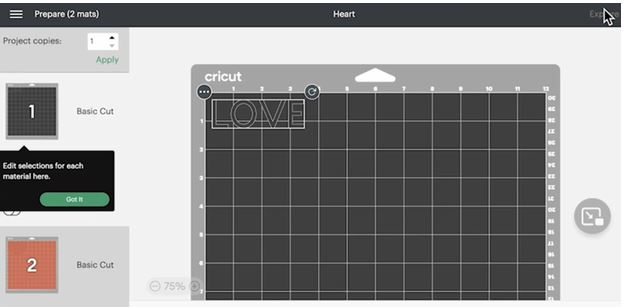
In the prep screens and Cricut design space, once you finish your design, save it, and click the ‘Make It’ button.
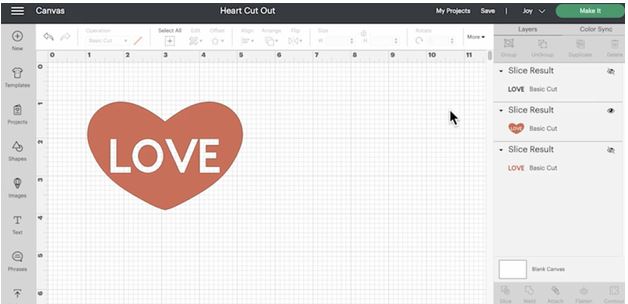
In the canvas design space, you will be guided through ‘Prepare and Make’ processes with simple step by step instructions on what to do next. A good tip is to follow the green button; prompts to guide you to the next step on the Cricut explore three Cricut maker machines.
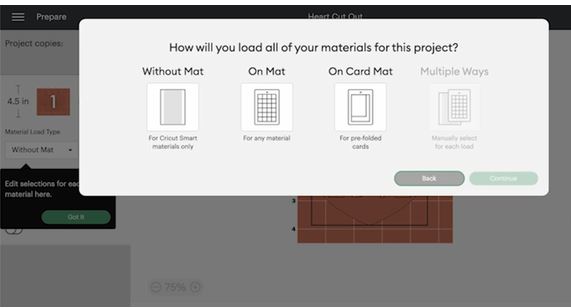
You will be asked first to choose how you will load your material into your cutting machine. Then on the prepare screen, you can choose how many copies you would like to make, remember to hit ‘Apply ‘once you have made your selection and the preview update. You can also choose your material size to ensure your design is lined up properly, on the mat, in the ‘Preview’ screen, or to tell the machine you are using a larger mat. This is particularly important when using the card mat. Do not forget to mirror if you are working with iron-on or infeasible ink and remember to put the shiny side of these materials face down on the map. Finally, to save space or if you are using up scrap material, you can move your design around on the ‘Preview’ portion of the screen with the grid lines here. Match the Grid then hit ‘Continue’ to go to the made screen where you will select the material you will be cutting. Once your material is selected, you will be given an overview of which tools you will need for that project.
