
Windows 11 brings a fresh look and enhanced features to the world of computing, making it an exciting platform for gaming enthusiasts. To ensure a seamless and immersive gaming experience, it’s crucial to optimize your system settings. In this guide, we’ll explore various strategies to optimize Windows 11 for gaming, covering both hardware and software tweaks. Throughout the guide, consider incorporating screenshots to visually guide users through the optimization process, enhancing the overall accessibility of the information.
1. Check System Requirements: Ensuring a Solid Foundation
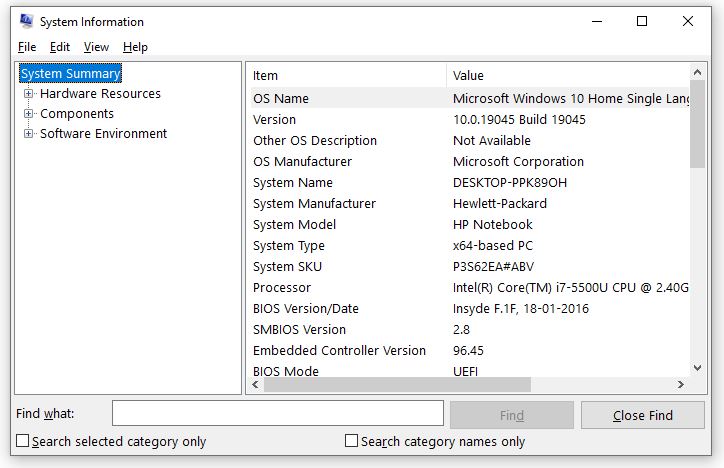
- Access System Information: Press Win + Pause/Break to open System Information and review your PC’s specifications.
- Compare with Game Requirements: Before installing a game, check its system requirements on the official website or game store. Ensure your PC meets or exceeds these requirements for optimal performance.
- Upgrade Hardware if Necessary: If your hardware falls short, consider upgrading components such as RAM, graphics card, or storage to meet the demands of modern games.
By aligning your hardware with game requirements, you establish a solid foundation for an enhanced gaming experience.
2. Update Graphics Drivers: Enhancing Visuals and Stability
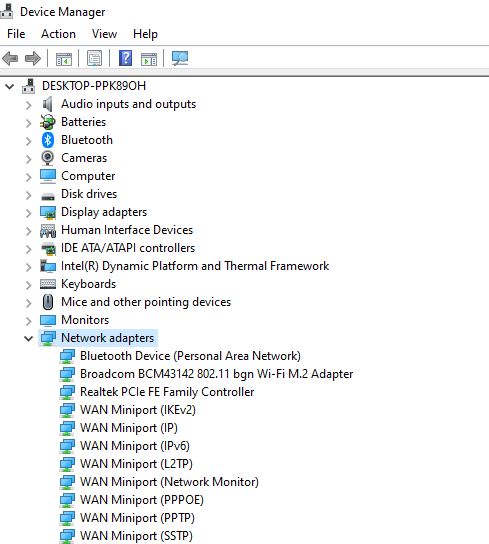
- Access Device Manager: Right-click on the Start button and select “Device Manager.”
- Update Display Adapters: Expand “Display adapters,” right-click on your graphics card, and choose “Update driver.”
- Search Automatically for Updates: Opt for the automatic search for updated driver software to ensure you have the latest graphics drivers installed.
- Restart Your PC: After updating drivers, restart your computer to apply the changes.
Up-to-date graphics drivers are crucial for optimal visual performance and system stability while gaming.
3. Enable Gaming Mode: Streamlining System Resources

- Access Gaming Settings: Navigate to Settings > Gaming.
- Enable Game Mode: Turn on Game Mode to prioritize system resources for an improved gaming experience.
- Xbox Game Bar: Customize Xbox Game Bar settings for in-game performance monitoring and easy access to system resources.
Game Mode is designed to streamline system resources specifically for gaming, providing a smoother gaming experience.
4. Adjust Graphics Settings: Finding the Optimal Balance
- Access In-Game Graphics Settings: Within each game, navigate to the graphics or settings menu.
- Optimize Graphics Options: Adjust settings such as resolution, texture quality, shadows, and anti-aliasing. Find a balance between visual quality and performance.
- Use Preset Profiles: Some games offer preset graphics profiles (e.g., low, medium, high). Experiment with these presets to find the optimal balance for your system.
Fine-tuning in-game settings allows you to tailor the visual experience to suit your PC’s capabilities.
5. Optimize Windows Power Settings: Balancing Performance
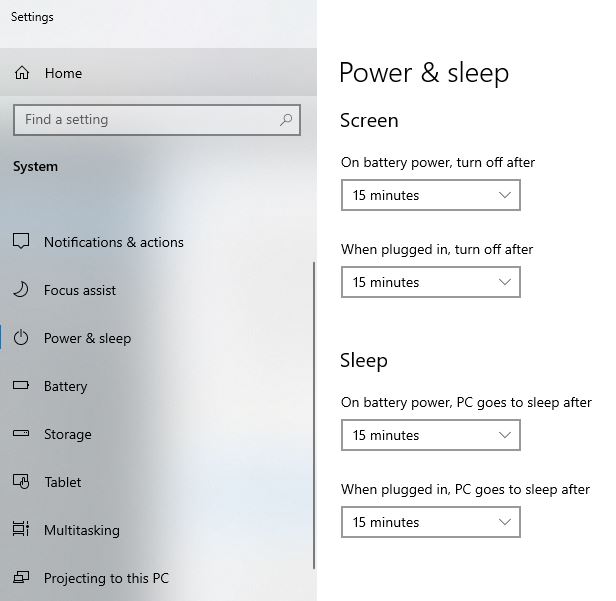
- Access Power & Sleep Settings: Go to Settings > System > Power & Sleep.
- Choose a Power Plan: Select a power plan that prioritizes performance, such as “High performance.”
- Access Advanced Power Settings: Click on “Additional power settings” to access advanced power settings.
- Modify Processor Power Management: In advanced settings, navigate to “Processor power management” and adjust settings like minimum and maximum processor state.
Customizing power settings helps ensure your PC delivers optimal performance during gaming sessions.
6. Monitor System Performance: Keeping an Eye on Resources
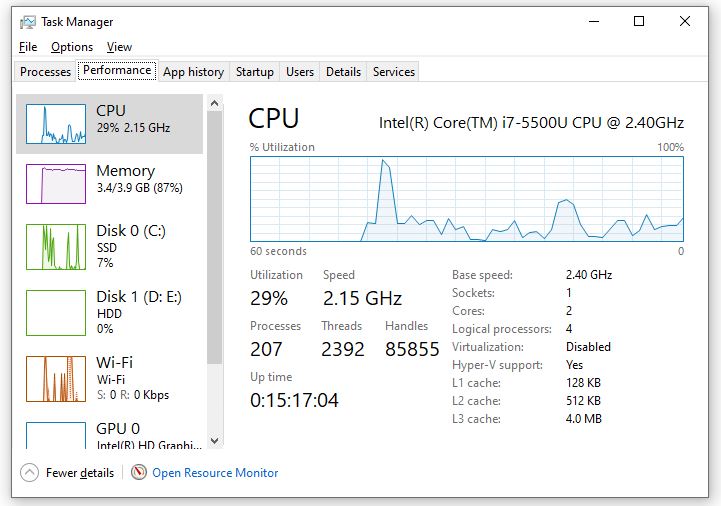
- Open Task Manager: Right-click on the taskbar and select “Task Manager” or press Ctrl + Shift + Esc.
- Navigate to the “Performance” Tab: In Task Manager, click on the “Performance” tab to view real-time data on CPU, Memory, GPU, and Storage usage.
- Monitor Resource Usage: Keep an eye on resource usage while gaming. Identify any spikes or issues that may impact performance.
By monitoring system performance, you can identify and address potential bottlenecks during gaming sessions.
7. Utilize AutoHDR: Enhancing Visuals on Compatible Displays
Screenshot: Windows 11 AutoHDR settings.
- Access Gaming Settings: Navigate to Settings > Gaming.
- Enable AutoHDR: If your display supports AutoHDR, turn on this feature to enhance the visual quality of supported games.
- Adjust Brightness and Saturation: Fine-tune additional visual settings within AutoHDR to achieve the desired look.
AutoHDR is a Windows 11 feature that automatically enhances High Dynamic Range visuals in supported games.
8. Optimize Network Settings: Reducing Lag and Latency
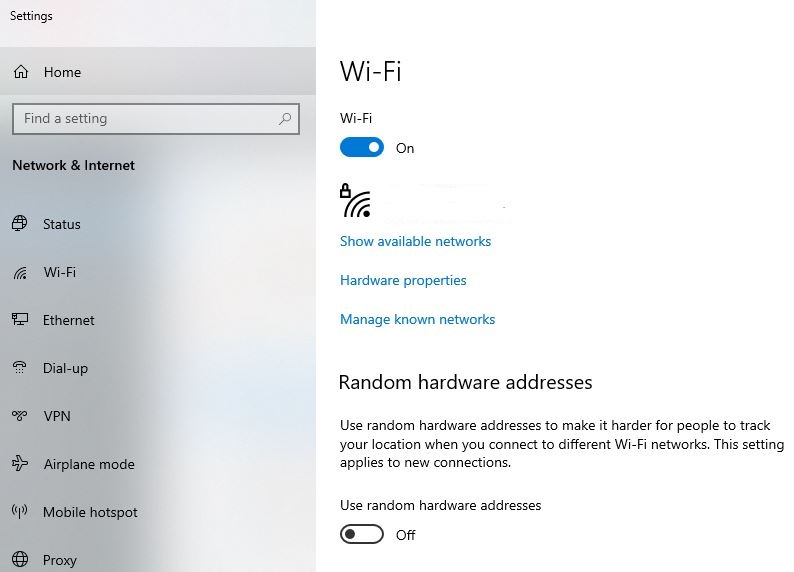
- Access Network & Internet Settings: Go to Settings > Network & Internet.
- Choose a Wired Connection: If possible, use a wired Ethernet connection for a more stable and lower-latency connection.
- Optimize Wi-Fi Settings: If using Wi-Fi, ensure you are connected to a high-quality Wi-Fi network. Adjust network settings to prioritize gaming traffic.
Optimizing network settings is crucial for reducing lag and ensuring a smooth online gaming experience.
Conclusion:
Elevating Your Gaming Experience on Windows 11
By implementing these optimization strategies and incorporating screenshots where needed, you can elevate your gaming experience on Windows 11. Remember that every system is unique, so it’s essential to tailor these adjustments based on your hardware and gaming preferences.
Whether you’re a casual gamer or a dedicated enthusiast, fine-tuning your PC for gaming ensures that you get the most out of every gaming session. Experiment with these tips and enjoy a smoother, more immersive gaming experience on your optimized Windows 11 PC.