Table of Contents
ToggleUpload an Image of Handwriting
Learn to photograph handwriting and upload it into Design Space.
This article will cover how to upload handwriting from a handwritten card into the design space. Let’s start with two examples. This card has multiple colors in the background. Because of this, you’d probably need to trace it onto solid white paper for the cleanest upload results.
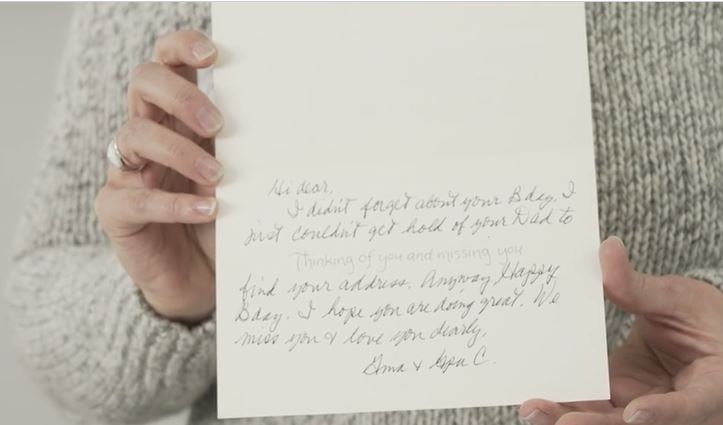
The birthday card would be perfect to photograph as is. It has a white background and the ink is solid black. This means it will be easier to upload the content into the design space. You will need a digital photo of your image. Make sure you have good lighting to avoid shadows and capture the image as straight on and in focus as possible. Pick the best one to crop and brighten using the editing features on your phone. Email the cropped image and download it onto the laptop and name it so you can find your file easily for upload using one of the compatible file types.

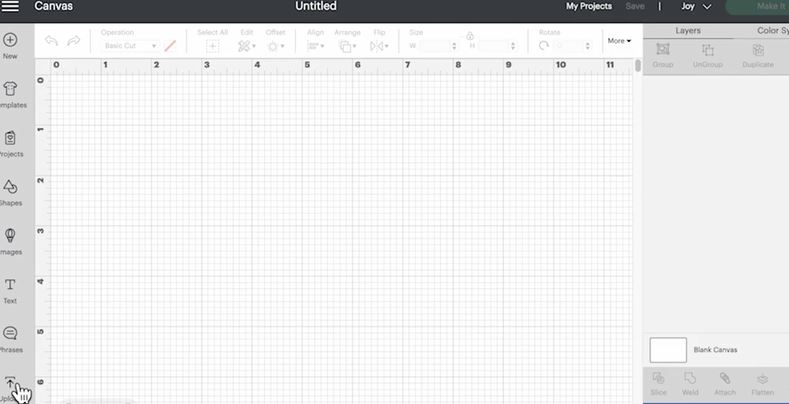
At the bottom of the design panel, click on the upload icon. Click the uploaded image on the left. That will take us to this screen where we can drag and drop or browse for our file. You will find our file and click open. For a single-color image like handwriting, select simple.
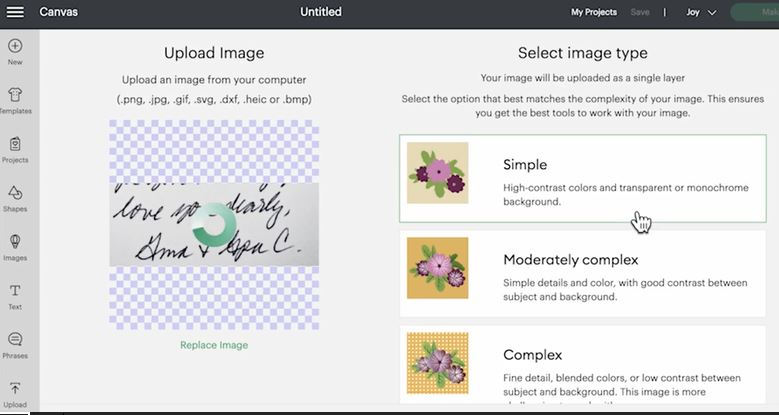
This is a good place to review your image before you go any further. If you see lots of shadows or it’s out of focus, you may want to reshoot. If it looks good, click continue. Automatic background remover simplifies the process if you are a Cricut Access subscriber, but for this, we are going to use manual tools. Let’s crop our image first so we have less to clean up. Click and hold the crop tool while dragging across the focal part of your image.
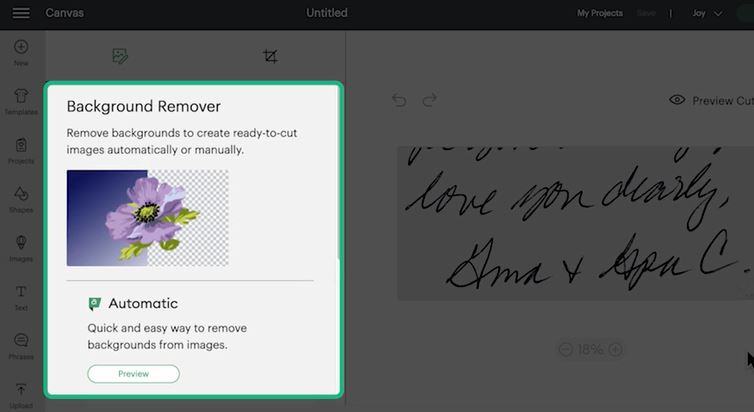
You may need to zoom out or scroll down to see the entire image. If you don’t like the crop, just click the back arrow and try again. You can select the tool next and click the edit tool, scroll down, and then click the select tool on the far left. Choose more options to reduce the colors to two so our image is just black and white. Then click the white background to delete the majority of the background all at once.
Next, we’ll select the larger interior background areas, like the spaces inside the letters. Click the preview cut image button often to check for speckles or rough edges. For these speckled areas, you can use the erase tool which has an adjustable size. If you make a mistake, just click the back arrow to undo it. Here’s a tip, use multiple clicks instead of holding the erase function down so if you do make a mistake, you can fix it quickly.
The restore tool is really helpful for smoothing out areas that are a little choppy. Don’t forget to use the preview cut image button and the zoom to clean and hard also zoom into tight areas and use any of the tools to clean up details. You can go up to 500% zoom. Click the preview cut image button again before clicking apply and continue to make sure your image is ready to go. You’ll know it’s ready when the preview looks the way you want the image to cut. Click apply and continue and you will come to the select upload types screen.
If you notice any sports you missed on this screen, just click the back button to return to the edit screen before continuing. For this project, we will make sure we save it as a cut image. Name and tag your image so you can find it later. Now click upload and it will bring you back to the main upload screen, where you can see your image in recent uploads. Now you have a truly unique and personal image saved to use for all kinds of projects and gifts.
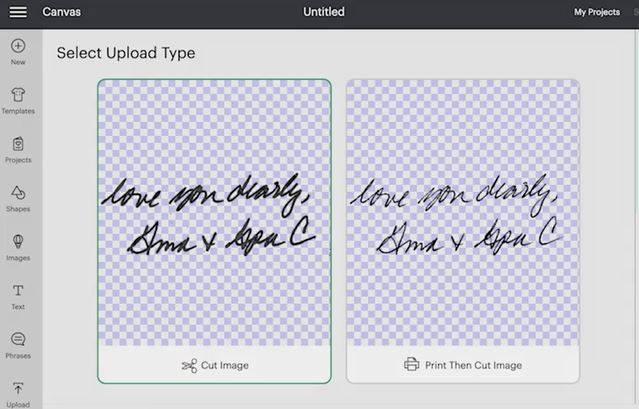
Press your Handwriting Image onto a Pillow
This article will cover how to design and cut an uploaded image of a handwritten note, and then press it onto this cute pillow. A Cricut cutting machine, we are using explore three, but you can use any Cricut cutting machine. A laptop computer, we will be working on the Design Space desktop app. We will be using an EsayPress two but you can use any model for this project.
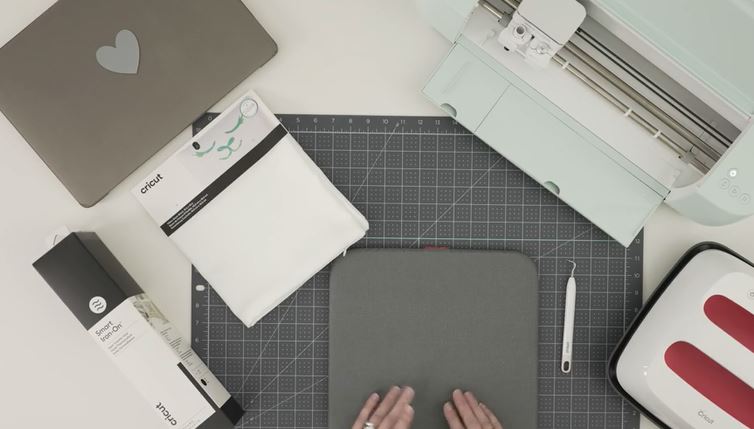
An EsayPress mat, a weeding tool, and everyday iron-on material. You can use Smart iron-on to get started, let’s open a new canvas in Design Space. As usual with Design Space, there is more than one way to do things. You can find your uploaded images under the upload button under recent uploads or in the images library using the ownership filter.
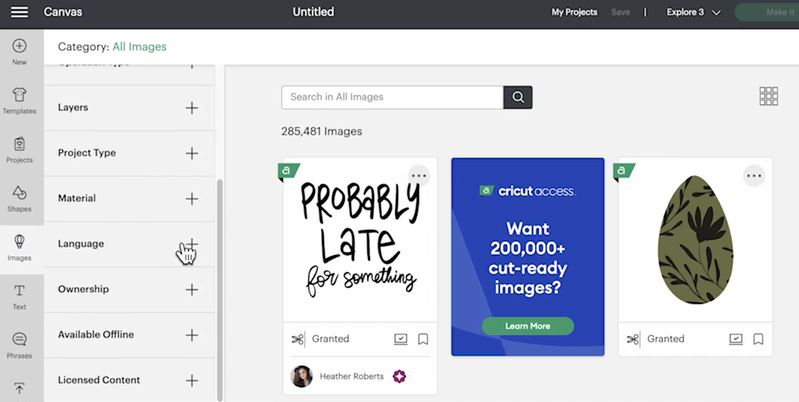
Find your image or images, select those to add them to the canvas, and zoom out here, so that you can get a better working view to resize the tool on the bottom right corner of the bounding box to reduce the size. Now use the templates tool to help us visualize the layout and size which we need for the project.
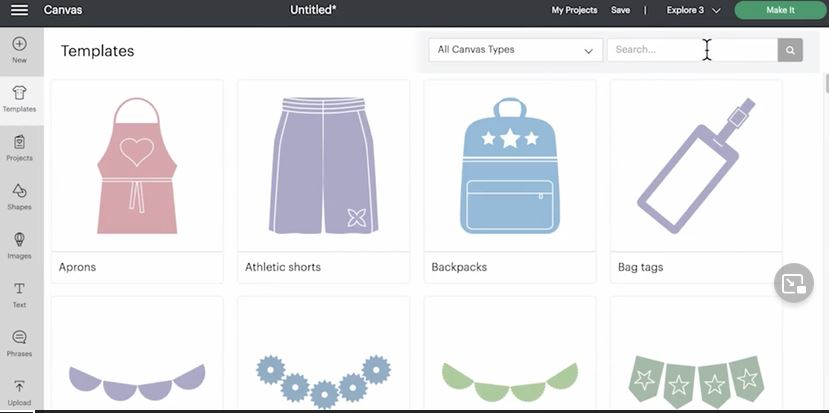
We are using the pillow template. Remember the template is for visual reference only. By clicking on the template icon near the bottom of your layers panel, you can change the style, size, and color of the template to closely match your blank. If you are wondering the template depicts the front and the back of the pillow in case you want to personalize both sides.
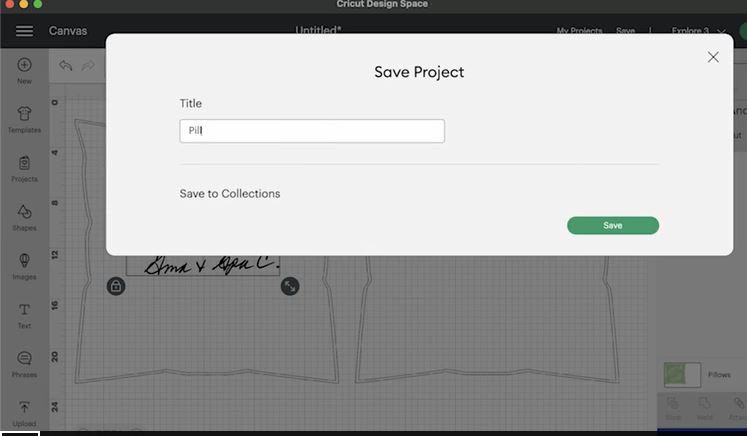
Here you can see the text is too large, so you can reduce the size and use the template to reference where we would place the image on our physical blank once it’s cut out. When it looks good, save your project and click make it.
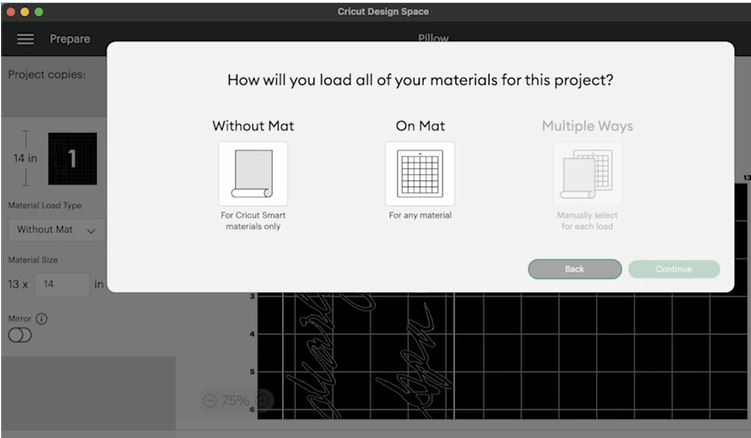
In explore, three are two options without a mat for smart materials and on a mat. We will choose without a mat and click continues. Here on the prepare screen, we will mirror our design. Because we are using iron-on and iron-on is cut with the liner side down, but pressed with the liner side up, we need to mirror our image. Then click continue. Now, you can select our material, the machine is ready to load.
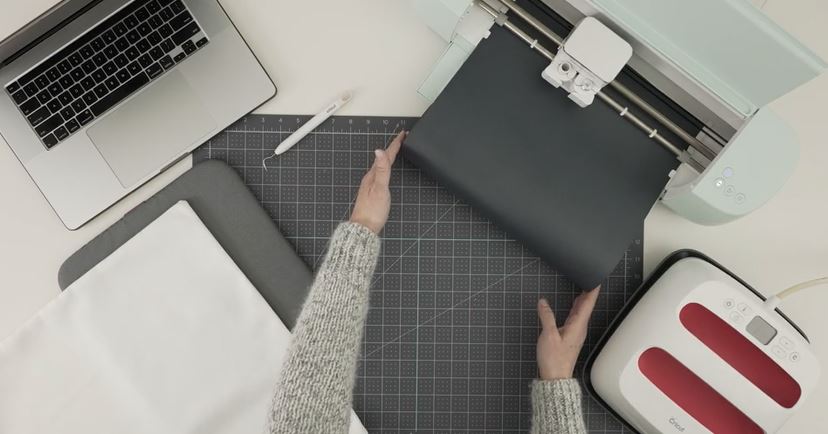
Let’s insert our smart iron-on into the machine with the shiny liner side down. Make sure that the edges are under the tabs when you press the load button. The machine will measure our material to confirm we have enough. Now press go. While that’s cutting, let’s check the Cricut heat guide for the recommended press settings so we can start warming up the EasyPress.
We will unload our material and trim around our image. You can use the rest of this Smart material on a mat another time so nothing goes to waste. Now we are going to carefully weed the design using a weeding tool. Remember, we are weeding the parts we don’t want to press onto our pillow.
I especially like cutting thin detailed lines with iron-on because the backer preserves the placement without needing transfer tape.
Now we can go in and weed the small inner pieces of the text. Layout your pillow and preheat.
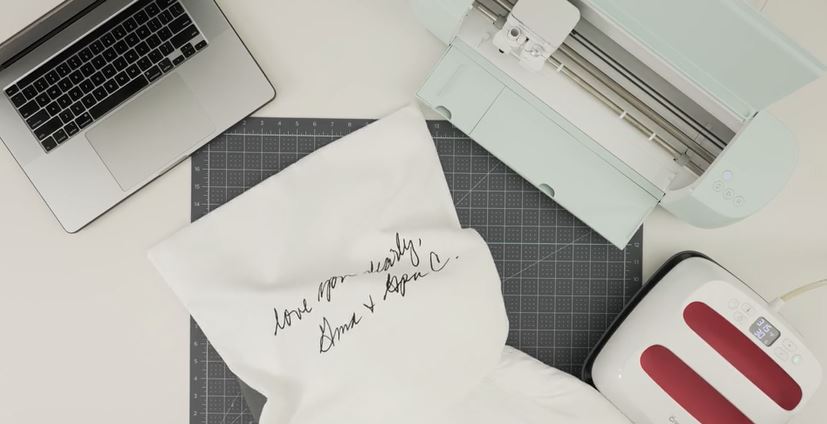
Place your weeded design where you want it and press following the recommendations from the heat guide.
Once that’s cooled, You can insert my pillow form. And that’s it. Now your project is ready!
