Listed below are few ways to make stencils that can be reused. You will also learn how these are very different from vinyl stencils of single use.
Stencils are cut to ensure that the open areas or negative space reflect what the design is going to look like. This means, while you design or weed the stencil you remove those areas that you want as a part of the final design.
It is helpful to have a frame or background shape for protecting of the surface from the medium that is being used. This can be etching cream, paint, icing, wood burning paste and more. This helps in visualizing the project and also serves as the required handle and frame for the design.
Table of Contents
ToggleHow are reusable stencils different?
Reusable stencils are made from a sturdy material sans any adhesive. This can be used a number of time, for the same image of different surfaces (like in cookies) or even for creating a larger design made of images repeated. Here we create reusable stencils for his birthday gift that is ‘bee-themed’
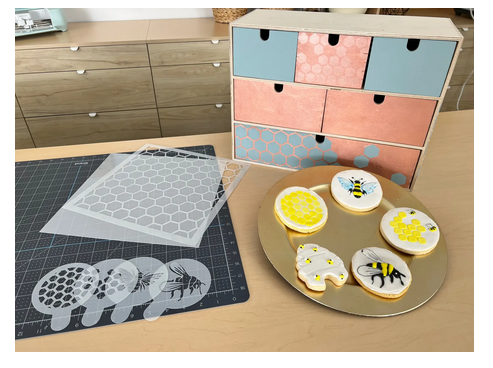
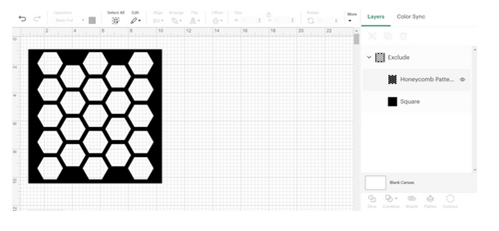
Let’s move to Design Space to get started. The honeycomb coffee stencil was used from Design Space for this project. The image was in black and this was left like that so that the design is seen clearly. You have an option of changing the colors of the image for reflecting the material colors. Contour was used for removing parts of the honeycomb for the image on the bottom left. After which, everything was contoured and only the outer shape was left as it is. The solid shape was duplicated for using as the base for the other stencils.
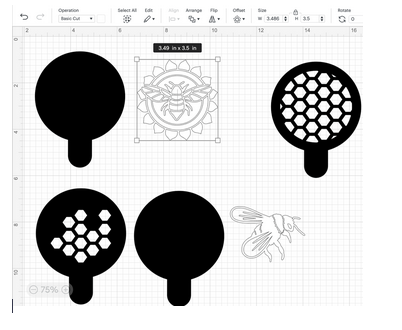
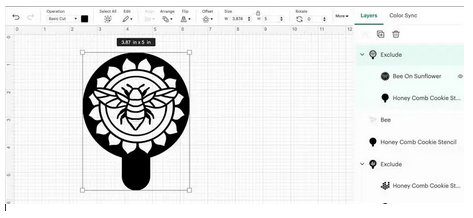
A design was placed over the blank and Exclude was used for creating a stencil image for creating other stencils.
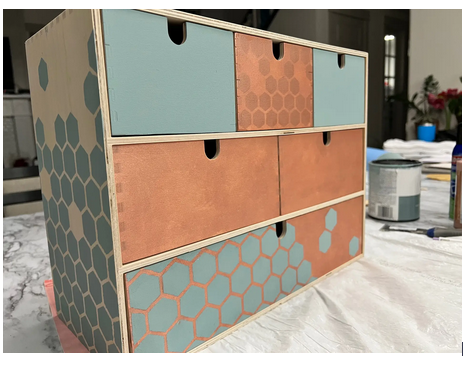
For creating stencils for the chest, a larger format of the honeycomb design is used.
Modify design to secure floating pieces
The above images are with some floating pieces. The insides of the eye and wings are not connected to the rest of the image.
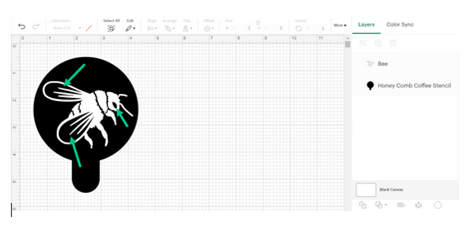
These need to be connected to be a part of the design. Small rectangles need to be added (with the use of Shapes on the left side of the Canvas) for holding these floating pieces in place.
The rectangles were placed at the bottom of both the wings and also at the bottom of the eye.
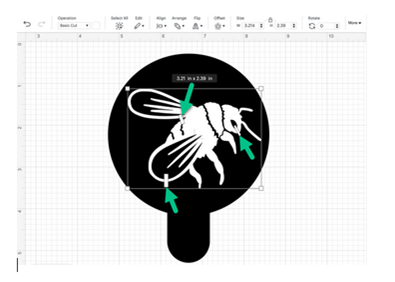
It was advisable to blend the rectangles into the design. Only these rectangles were moved from the Layers Panel and moved across the bees back to a better location. ‘Subtract’ was selected. You can make any additional changes with the adjustment of the layers panel. The ‘Subtract’ action will update automatically.
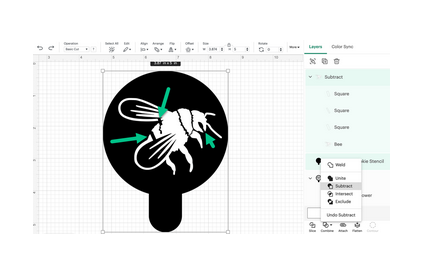
Save the project once all the images are ready.
You can cut the stencil(s)
Cut your stencil.
Select ‘Make it’ and search for ‘Acetate’ on the ‘Materials’ screen.
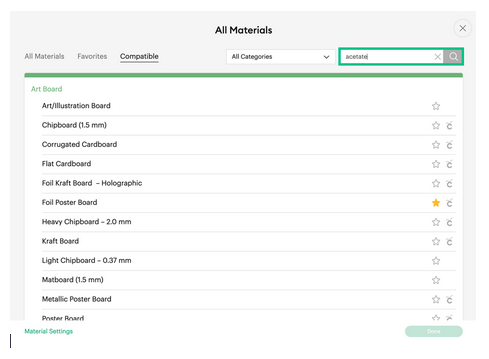
The ‘Acetate’ setting was used as the material was thin (18mm)
You need to make a test-cut to make sure the material can cut all the way through in case you use a heavier material.
Adjust the ‘Material’ setting accordingly.
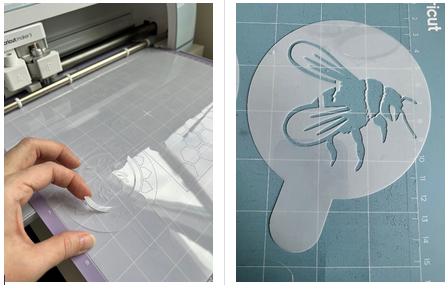
Use stencil to apply design to surfaces.
Tips on using Stencils
Cookie decorating:
Edible Ink:
Edible ink is used for fine lines. Trace the outline of the bee and then fill this. Details are added with royal icing. Note: This is best on a cookie that is flooded with royal icing and then dried.
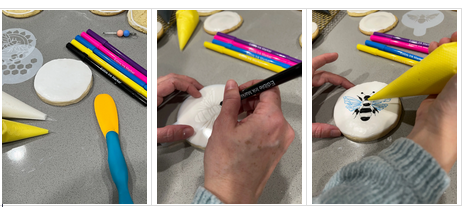
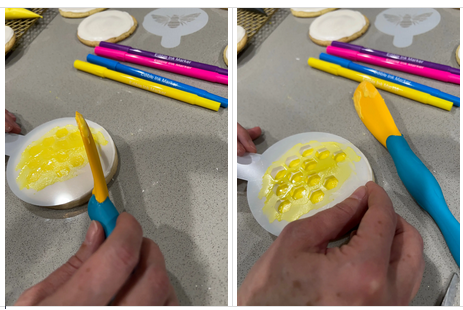
A contrasting color of the royal icing is gently spread across the top of this stencil. This takes a few minutes to set. Remove the stencil straight up.
Furniture
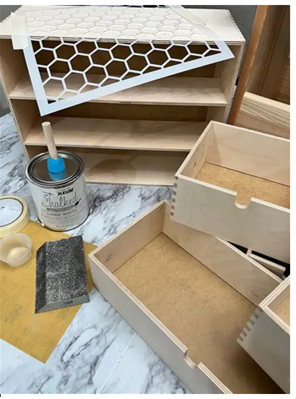
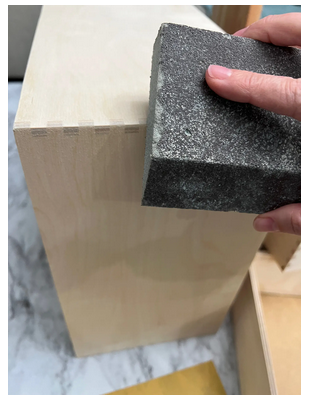
If applying your stencil to a wooden base, sand lightly to smooth the surface.
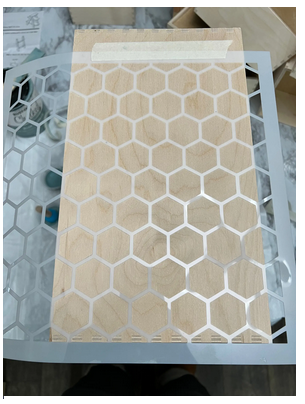
You can make use of reposition able spray adhesive for painted patterns that are on a large scale. This is used on the back of the stencil so that it is held in place. The edges are sealed and this also helps in taping the edges.
Apply paint with a pouncing brush in a straight up and down motion.
Remove the stencil after a few minutes once the paint is set.
Make sure the underside of the stencil is clean before you move on to another area.
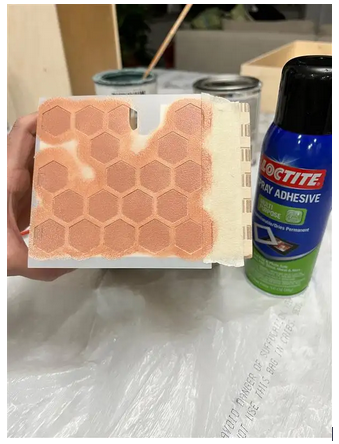
Try layering paint for different effects.
