PC Cleaner for Windows - Product Help
PC Cleaner for Windows presents a comprehensive solution for cleaning Windows PCs. It efficiently eradicates junk files, large files, and duplicates. Tailoring to individuals who amass considerable collections of photos and videos – such as gamers, photographers, and creators – the app equips users with the ability to scan and selectively remove duplicate images and videos, liberating valuable hard drive space and enabling an optimal file storage environment.
This product guide has been crafted to assist you in mastering the core features of the app, enabling you to swiftly leverage its functionalities and experience immediate benefits.
– Advertisement –
Product Support
Do you have questions about the product’s functions, acquiring a license, or wish to share product feedback? We’re eager to hear from you:
- Email our support team at: [email protected]
- If you’ve come across an issue while using the app, kindly describe the problem’s nature in your email. It would also be helpful if you could provide step-by-step instructions to replicate the issue.
- If the problem pertains to a specific document, feel free to attach the file to your email.
Our team includes knowledgeable and friendly support members who will promptly respond to your inquiries.
Install PC Cleaner for Windows
PC Cleaner for Windows is available for download from the Microsoft Store. Visit one of the following two links to get started:
- from the Microsoft Store website
- from the Microsoft Store app
PC Cleaner for Windows supports both Windows 11 and Windows 10.
Launch the app
Once the application is installed, launch the app following these steps:
- Click the Windows Start button
- Type “PC Cleaner for Windows“
- Locate the matching program entry with this app icon

- Click the entry to launch the app
For ease of access in the future, you may choose to pin the program icon to the Windows taskbar. With the app running:
- Right-click the app icon from the taskbar
- Select “Pin to taskbar“
– Advertisement –
The main interface
The app empowers users to scan, review, and eliminate junk files, large files, duplicates, as well as similar photos and videos. The main interface prominently offers access to the app’s core features:
- Junk files
- Large files
- Duplicate files
- Similar photos
- Similar videos
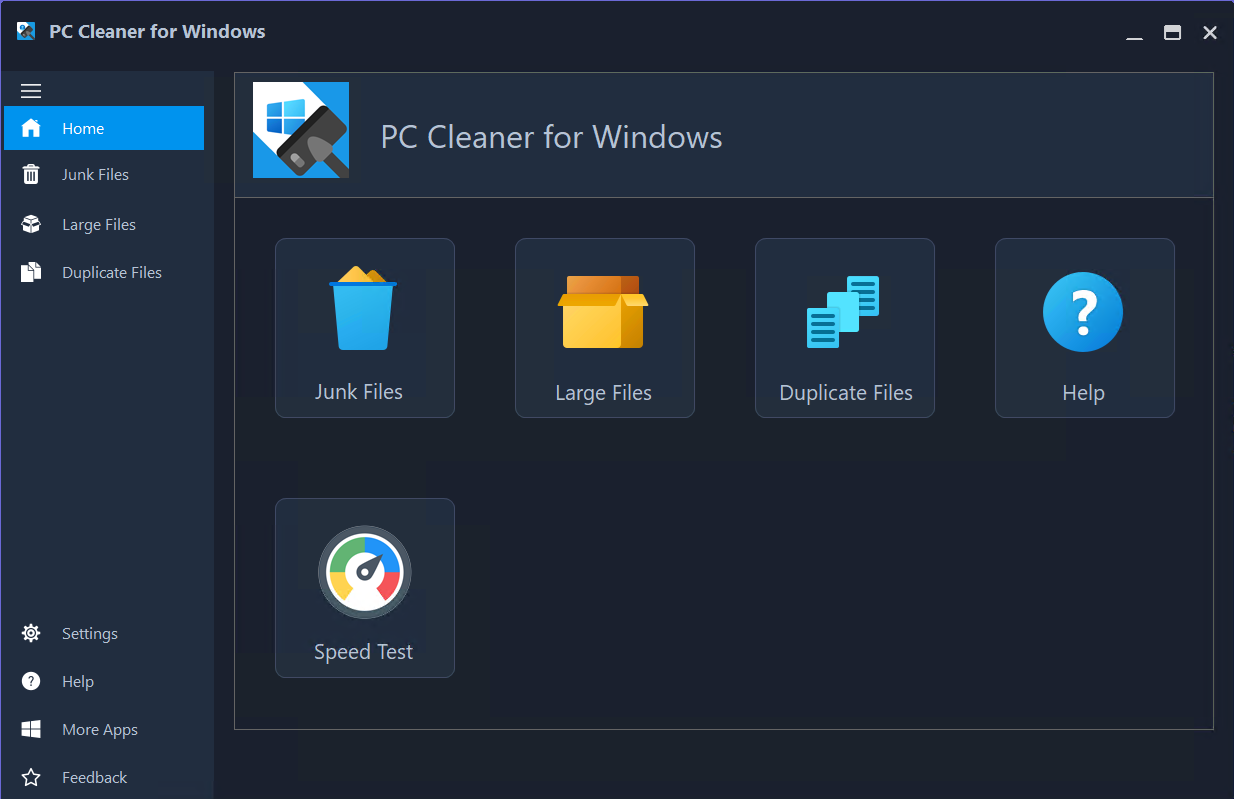
Furthermore, all scanning and cleaning functionalities are conveniently accessible through the side toolbar, which also provides entry points to Program Settings, Help, and Feedback/Ratings.
– Advertisement –
Remove junk files
The app identifies and safely removes junk files, temporary files, crash dump files, leftover file remnants from uninstalled applications, log files, Windows error reports, such as:
- Application temporary files: temporary data files generated by applications.
- Memory dump files: Snapshots of system memory during critical errors.
- Windows temporary files: temporary data files generated by the Windows OS.
- Windows log files: Records of system events and activities.
- Windows error Reports: Diagnostic reports capturing system errors.
- Application cache: temporary data files generated by Windows apps
- Mail caches: temporary data files generated by Windows Mail or Microsoft Outlook
- Downloads: the current user download folder
- Browser caches: temporary data files generated by Chrome, Edge, or Firefox
- Office caches: temporary data files generated by Microsoft Office applications
Scan for junk files
To initiate the junk files scan, select one or multiple categories of junk data within the Junk File Scan interface and proceed by clicking the “Scan Now” button.
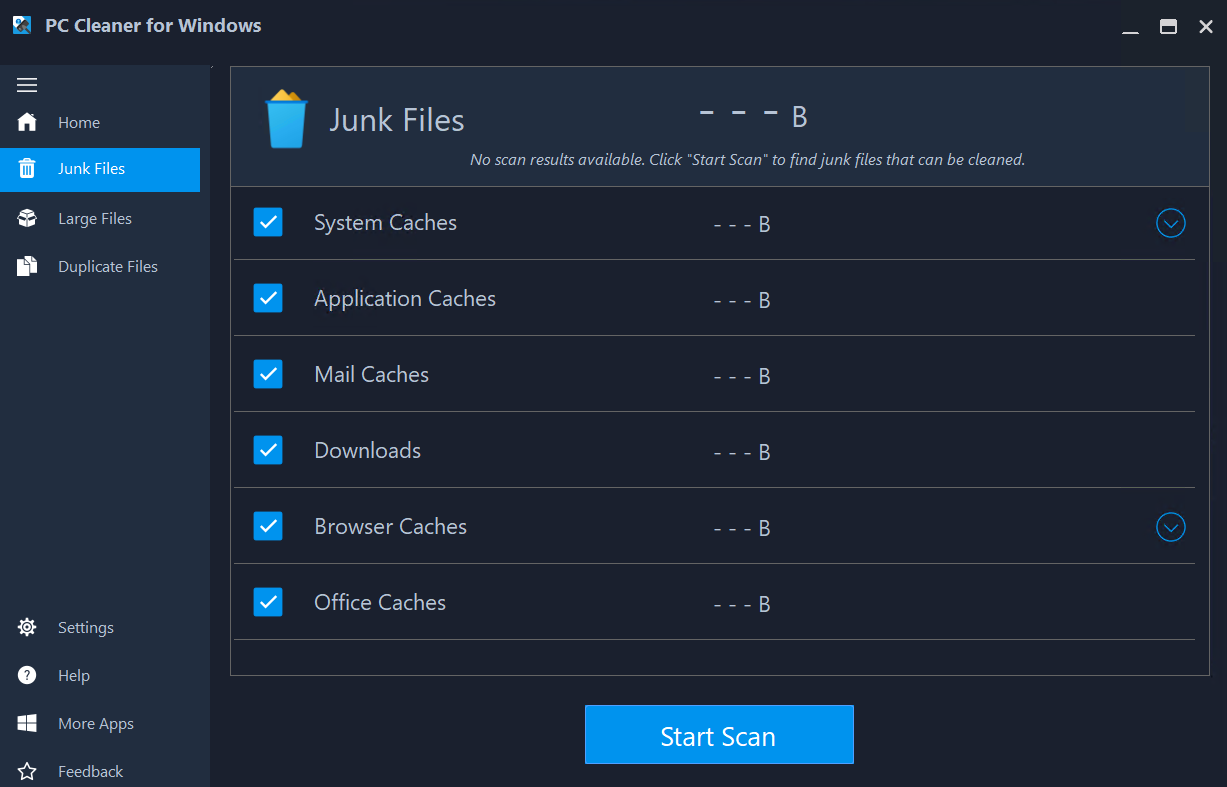
Review scan results
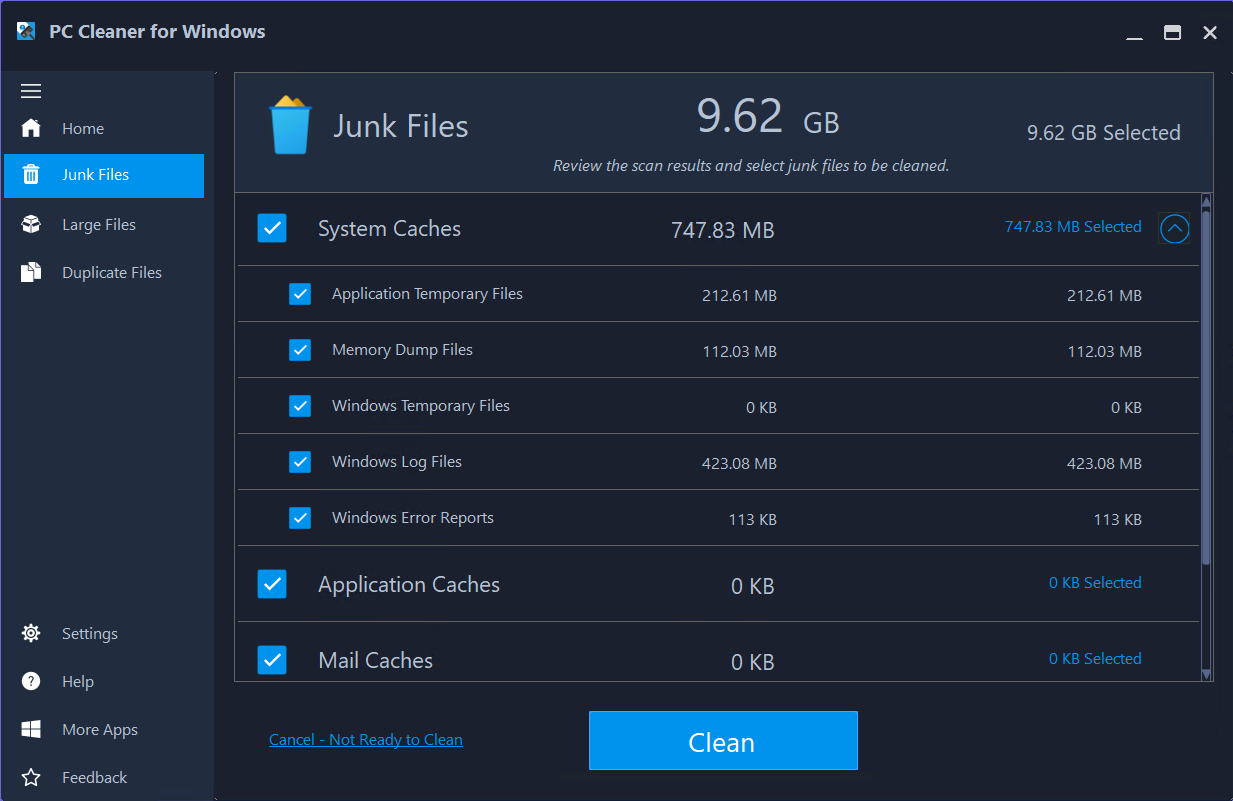
Upon the completion of the scanning process, the Scan Results interface will exhibit files, data, or remnants cataloged under each principal category. For more in-depth analysis, subcategories beneath System Caches and Browser Caches can be expanded and reviewed.
Selecting Junk files for cleaning
Effortlessly pinpoint unwanted files for removal by selecting the corresponding checkbox beneath a main category or subcategory. Once the review is concluded and you’re prepared to initiate the cleanup of the chosen junk files, proceed by clicking the “Clean” button.
Junk cleaning outcome
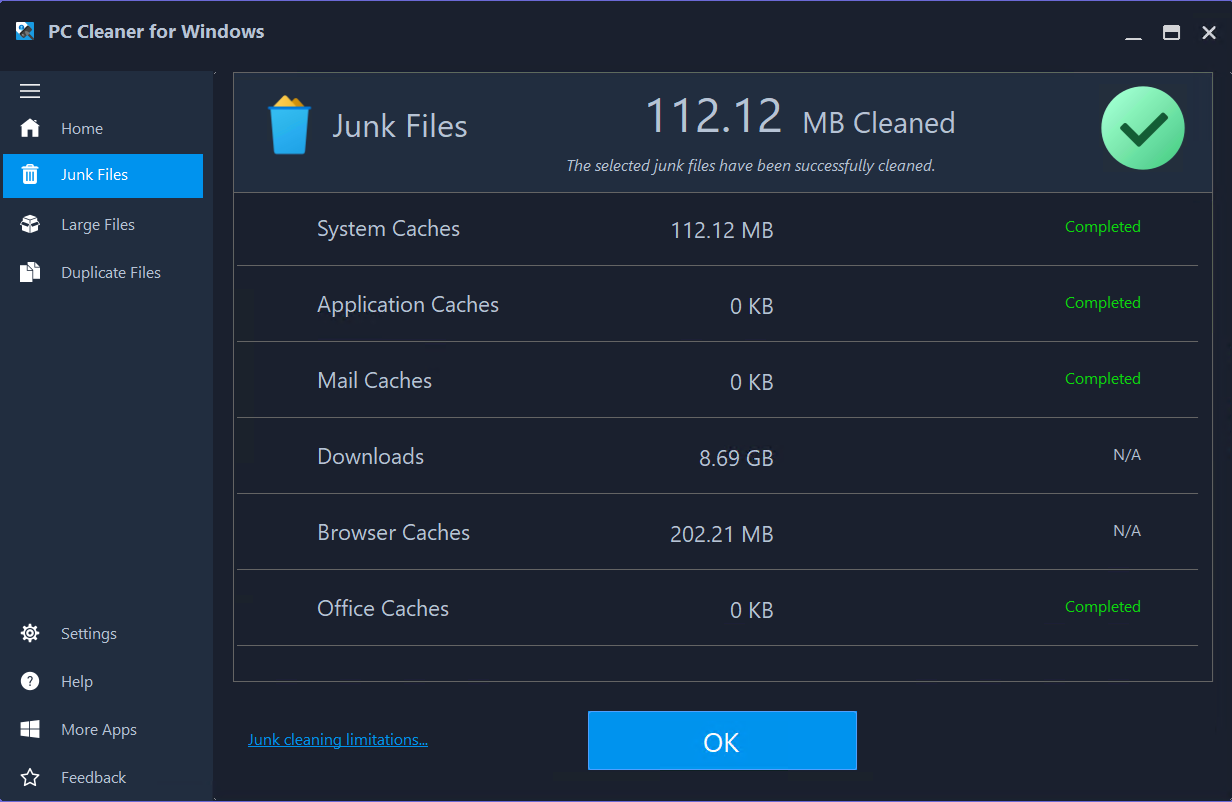
Upon executing the cleaning process to eliminate the chosen junk data, the app will furnish a detailed summary of the Junk File Cleaning Results, showcasing the successful removal of the selected unnecessary data.
– Advertisement –
Remove large files
The app help you uncover and eliminate forgotten large files that are hogging disk space. Utilize the multi-factor filters, which allow you to select files based on a combination of factors such as file type (documents, videos, images, others), file size (huge, large, regular), and last accessed time (a week ago, a month ago, six months ago, or one year ago). This ensures that you exclusively remove the intended files, optimizing storage space while retaining full control over your deletions.
Define file size for the scan
When conducting a scan for large files, the application categorizes each file into distinct classifications:
- Regular size: Ranging between 50MB (default, but modifiable) and 500MB.
- Large size: Falling between 500MB and 1GB.
- Huge: Exceeding 1GB.
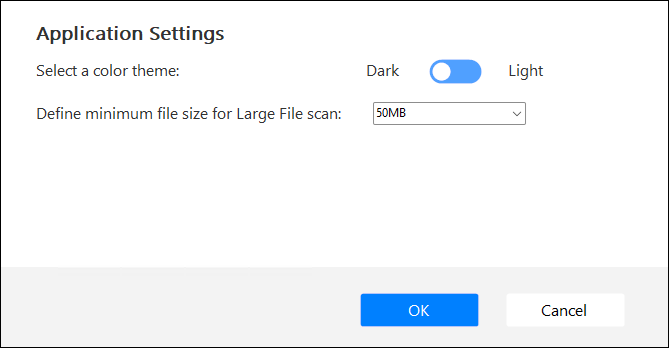
For user convenience, the app offers flexibility by allowing users to personally establish the threshold for files deemed “Regular” via the Settings dialog box. This can be accessed by clicking the gear icon located in the side toolbar.
To designate the minimum file size criterion for initiating a Large File scan, simply interact with the dropdown combo box. Choose from among the four preconfigured values: 10MB, 50MB, 100MB, or 200MB.
Select folders for scanning
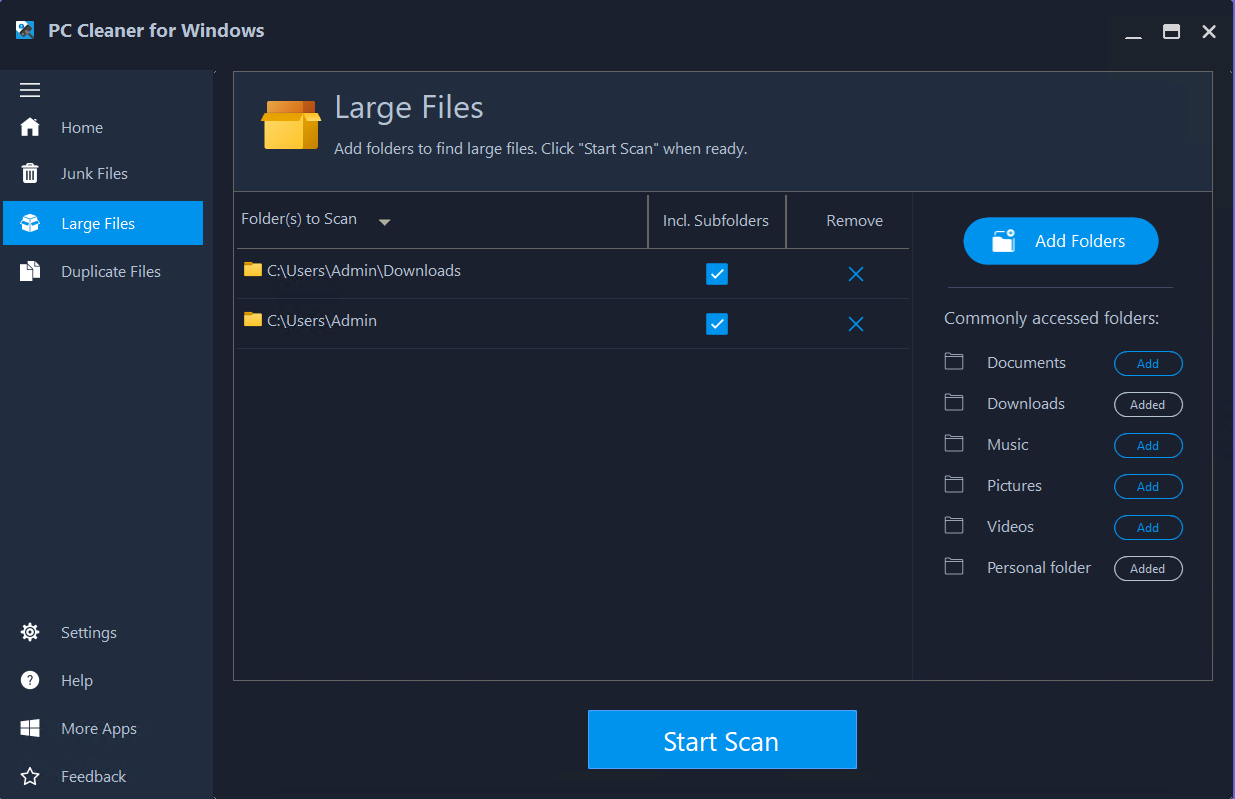
Prior to initiating a Large File scan, designate one or multiple folders for analysis. For expedited selection, the app grants access to frequently employed folders like Documents, Downloads, Music, Photos, Videos, as well as the current user folder, also known as the Personal Folder.
Add a folder for scanning
To include one of the preconfigured commonly used folders, simply click the “Add” button. The newly added folder will promptly join the “Folders to Scan” list.
For folders not covered by these predefined options, click the “Add Folders” icon located in the upper-right corner of the window. After browsing and selecting your desired folder, confirm your selection by clicking the “OK” button.
To remove a folder
To eliminate a folder from the scan list, locate the respective entry and click the “Remove” button ![]() . This action will promptly remove the folder from the scan list.
. This action will promptly remove the folder from the scan list.
Initiate the scan
When you’re prepared, click the “Start Scan” button to commence the Large File scan. The duration required to finalize the scan hinges on the quantity of selected folders and the volume of files within those designated folders.
Reviewing Scan Results
Following the culmination of the scanning process, the scan results list will present all files that meet the “Regular” and larger criteria, awaiting your evaluation.
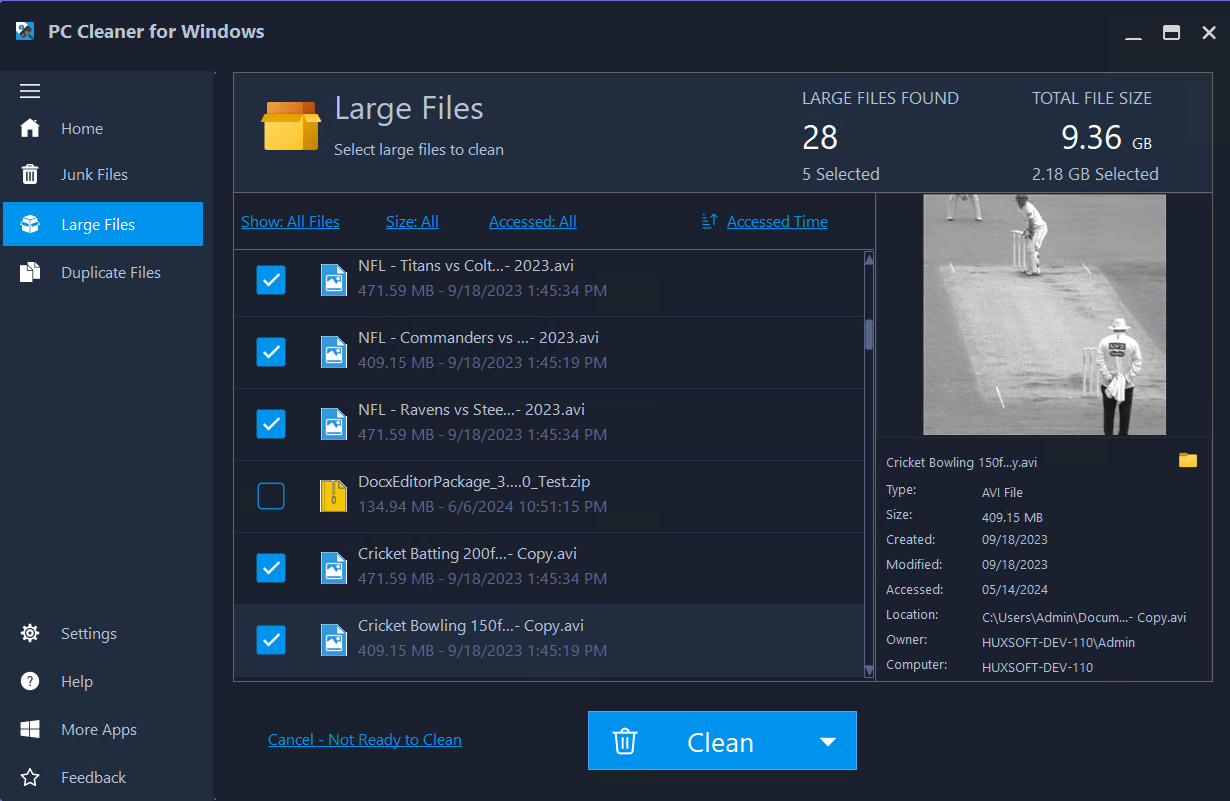
By default, no files are preselected for cleaning or deletion. However, you have the option to select files for cleaning or deletion by checking the respective checkbox alongside each file entry, as illustrated below.
Filtering Scan Results
To facilitate selective viewing of scan results, the app introduces multiple filters accessible at the top of the scan results list:
1. Show file types: Select one of the following options:
- All Files: Display all detected files.
- All Selected: Present only files marked for cleaning/deletion.
- Document, Images, Videos, or all other file types.
2. Show files by size: Choose between Huge, Large, Regular, or files of all sizes.
3. Last access timestamp: Opt for One week ago, One month ago, One year ago, or all timestamps.
All these filters are combined using the AND boolean operator. For example, the filter setup below displays files of Regular size that were accessed at least one month ago (but within the last 6 months).
– Advertisement –
