
Wi-Fi connection is crucial for seamless online experiences. However, Windows 10 users may encounter various Wi-Fi issues that can disrupt their connectivity. This comprehensive guide will walk you through troubleshooting and fixing common Wi-Fi problems on Windows 10, ensuring a smoother and uninterrupted online experience.
Understanding Common Wi-Fi Issues on Windows 10
Before delving into solutions, it’s essential to identify common Wi-Fi issues that Windows 10 users often face. Some of these issues include:
- Limited Connectivity
- Slow or Unstable Connection
- Network Not Visible
- Frequent Disconnections
- Trouble Connecting to Specific Networks
Step 1: Basic Checks and Preparations
Before diving into more complex solutions, it’s crucial to perform some basic checks and preparations.
- Check Router and Modem: Ensure that your router and modem are powered on and functioning correctly. Sometimes, a simple reboot can resolve connectivity issues.
- Verify Wi-Fi Signal Strength: Check the signal strength on your device. A weak signal can lead to connectivity problems. Consider moving closer to the router or removing potential obstructions.
- Ensure Wi-Fi is Turned On: It may sound simple, but sometimes Wi-Fi gets accidentally turned off. Verify that your Wi-Fi is turned on in the device settings.
Step 2: Update Network Drivers
Outdated or incompatible network drivers can contribute to Wi-Fi problems. Updating them is a straightforward yet effective solution.
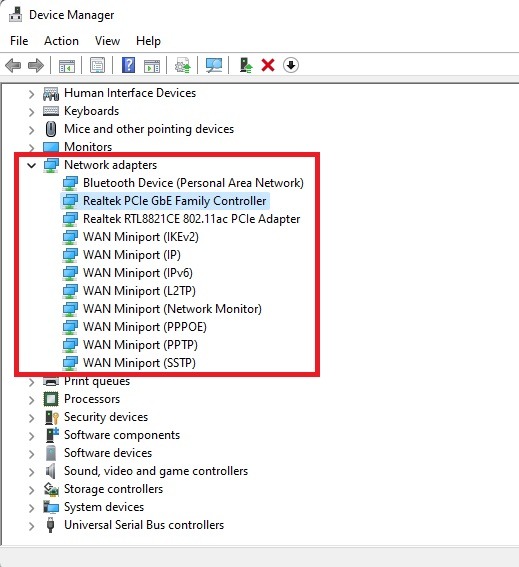
- Open Device Manager: Right-click on the Start button, select “Device Manager.”
- Expand Network Adapters: Locate your network adapter, right-click, and choose “Update driver.”
- Search Automatically for Updated Driver Software: Let Windows search for the latest drivers online and install them.
- Restart Your PC: After updating the drivers, restart your computer to apply the changes.
Step 3: Forget and Reconnect to Wi-Fi Networks
Sometimes, reconnecting to a Wi-Fi network can resolve issues related to authentication or connection problems.
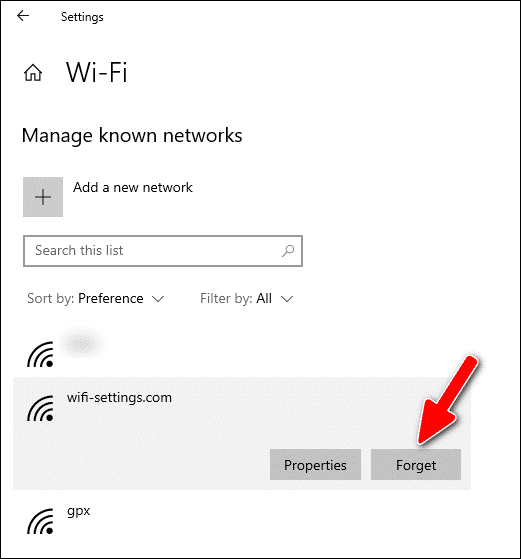
- Open Wi-Fi Settings: Navigate to Settings > Network & Internet > Wi-Fi.
- Manage Known Networks: Under “Manage known networks,” select the problematic network and click “Forget.”
- Reconnect to the Network: After forgetting the network, reconnect by entering the password if required.
Step 4: Windows Troubleshooter
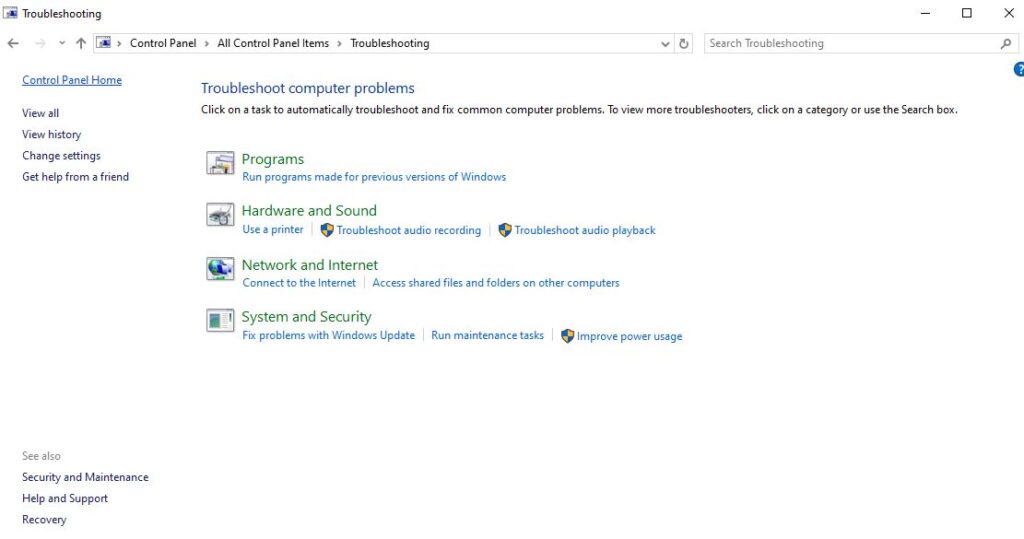
Windows comes equipped with built-in troubleshooting tools, and the Network Troubleshooter can automatically detect and fix common connectivity issues.
- Open Settings: Navigate to Settings > Update & Security > Troubleshoot.
- Run the Network Troubleshooter: Under “Troubleshoot,” select “Internet Connections” and run the troubleshooter.
- Follow On-Screen Instructions: The troubleshooter will guide you through the process and attempt to fix identified issues.
- Restart Your PC: After troubleshooting, restart your computer to apply any changes made.
Step 5: Adjust Power Management Settings
Power management settings can sometimes interfere with Wi-Fi connectivity, especially on laptops.
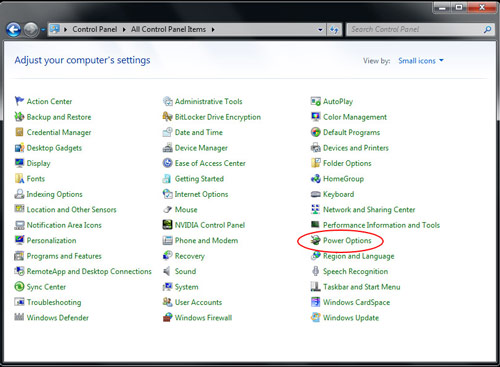
- Open Device Manager: Right-click on the Start button, select “Device Manager.”
- Locate Your Wi-Fi Adapter: Under Network Adapters, right-click on your Wi-Fi adapter and select “Properties.”
- Adjust Power Management: In the “Power Management” tab, uncheck the option that allows the computer to turn off the device to save power.
- Restart Your PC: After making changes, restart your computer for the adjustments to take effect.
Step 6: Check for Windows Updates
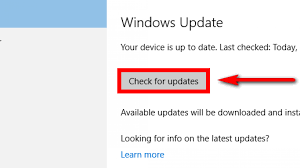
Keeping your operating system up to date is essential for overall system stability, including network-related functionalities.
- Open Windows Update Settings: Go to Settings > Update & Security > Windows Update.
- Check for Updates: Click on “Check for updates” and install any pending updates.
- Restart Your PC: After updating, restart your computer to complete the installation process.
Step 7: Disable Third-Party Security Software
![]()
Security software, especially third-party antivirus programs, may interfere with network connections. Temporarily disabling them for troubleshooting purposes can help identify the issue.
- Disable Security Software: Temporarily turn off third-party antivirus or security software.
- Check Wi-Fi Connection: After disabling the security software, check if the Wi-Fi issue persists.
- Enable Security Software: Once troubleshooting is complete, re-enable your security software to ensure continued protection.
Conclusion
By following these troubleshooting steps, you can address and fix common Wi-Fi issues on Windows 10, ensuring a stable and reliable internet connection. Remember that each situation may be unique, and it’s essential to approach problem-solving systematically. If issues persist, seeking additional support from Microsoft or your device manufacturer may be necessary for a more tailored solution. A stable Wi-Fi connection is crucial for a smooth online experience, and with these troubleshooting techniques, you can enhance and maintain the performance of your Windows 10 system.