In this article, I will be sharing some handy tips for how to correctly size your designs in design space and how to maximize the use of your materials whether you are cutting on a cutting mat or using smart materials. There is a maximum size to your cuts on a 12 by 12–inch mat. Your maximum size is 11 and by 11 and a half. And when using smart materials, the maximum width that you can cut is 11.7 inches.
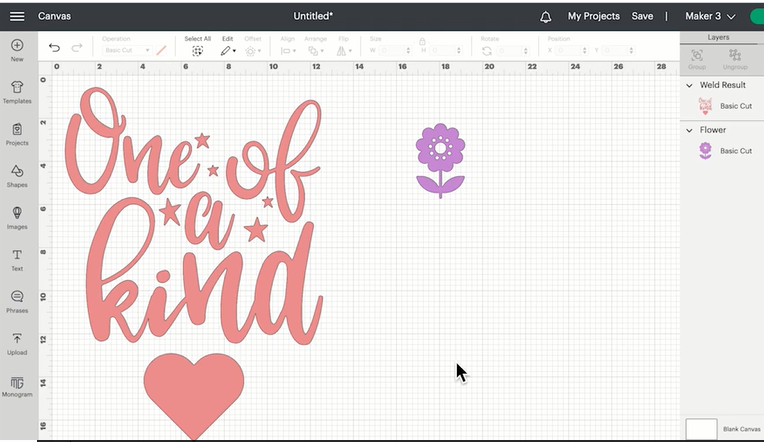
So let’s head over to design space and we will learn how to check the size of your projects. If you do try to cut an image that is too large for your machine, then you will get an orange hazard sign warning icon when you select the layers panel, if we hover over that it tells us that this image is not supported by the maker because the image is too large. So in this article, you will learn how exactly what to do to make sure this doesn’t happen to you.
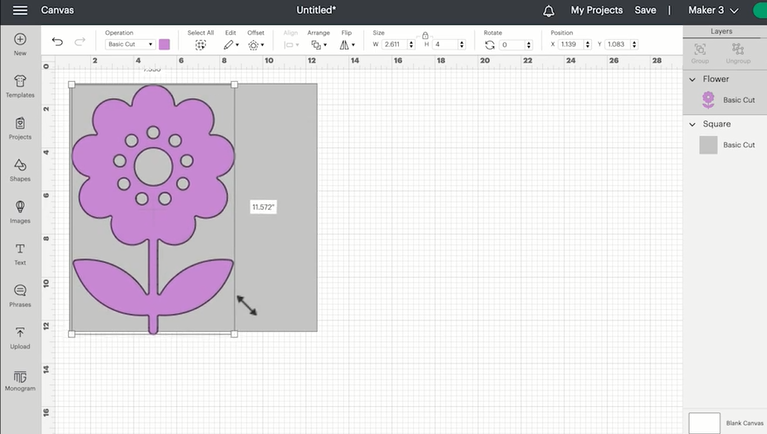
Let’s say creating one project on a 12 by 12-inch mat, add a shape to my canvas a square and you can resize it to be 11.5 and by 11.5. Then select a range and send it back, also find it helpful to change the color to like a slightly paler color. So now take this flower image and place it on top of the square, you can increase the size to fit within this square then you don’t see a warning icon coming up because it would fit on a 12 by 12-inch mat.
The other way that you can use this sort of guiding square is if you want to cut multiple of the same images. So for example, if you resize the flower bit smaller and just create some copies, what you can do is place them all on this square and make sure they are as densely packed as possible which will help minimize the waste of material you can also rotate some of the shapes to get them packed in even a little bit closer and also if you are not too fussed about the size of each individual image.
If you have got like a little space left, you can always resize the image and then fit it into the spare gaps that are left. So the only thing is to remember before you go through to make it to select your guiding square and hide it and then highlight all of your objects that you want to be cut on that one month and attach them all together. And so that way when we go through to make it we will have all of those flower images arranged together on the mat screen as we had them on the canvas. And this is a really great way to minimize waste when you are cutting.
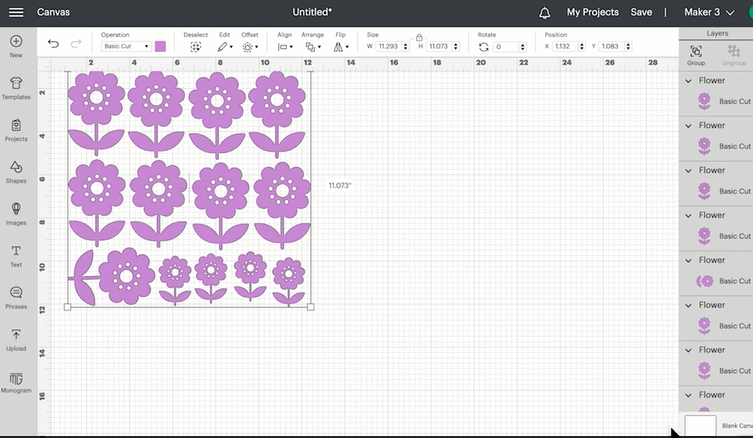
Table of Contents
TogglePlace your design on the mat screen
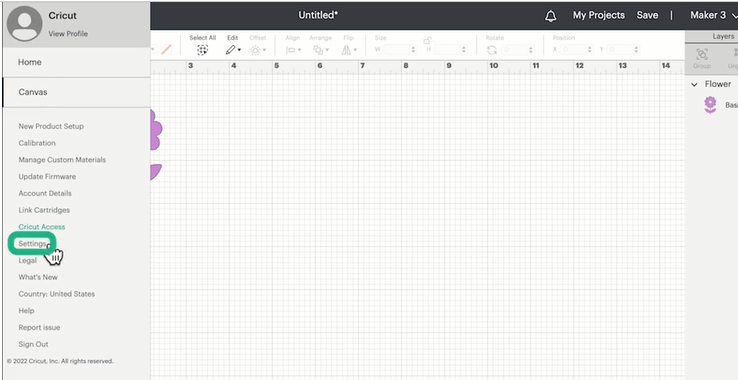
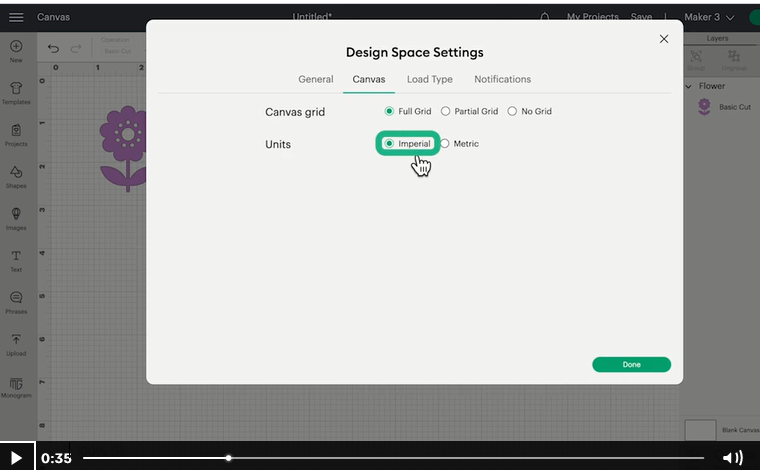
In this section, we will learn how to place your design on the mat screen. First, make sure you always place your material on your cutting mat and precisely the correct place for where the design space will cut your image. Once you are happy with your project and ready to make it first, ensure that your canvas is set to measure in inches, if you click on the hamburger menu in the top left and then select settings and then under units, make sure that you have imperial selected.
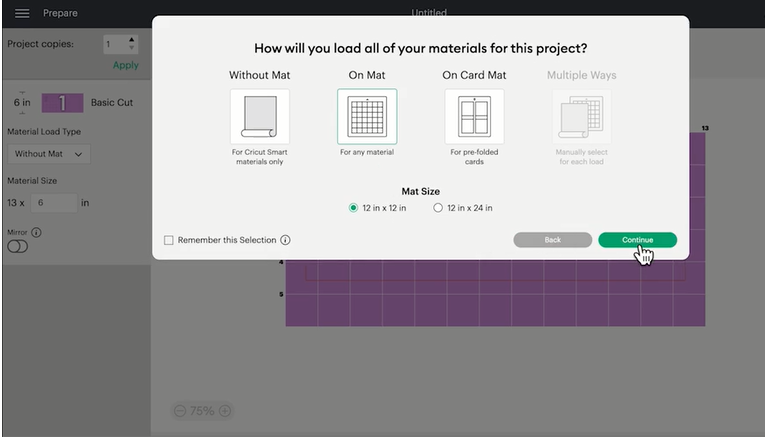
Once you then click on make it and select on a mat, we’re using the 12 by 12 inch, you will notice that the numbers on the math screen are counting in inches and these correspond exactly with the numbers on your mat and the size of the grid printed on your mat, so this is really handy for making sure that you place your images in exactly the correct place. All you have to do is to count along the mat and down the number of squares.
To find exactly where the top corner of your images and then you need to make sure that your material extends beyond that point on your mat. So let’s say, for example, if you move a flower here then count across two squares to get to this top corner and one square down, so if we take a look at the actual mat you will need to count two squares along one square down and then this needs to be completely covered by my material and this way placed my material correctly, on my mat for where the image is positioned in the design space and so it should cut perfectly.
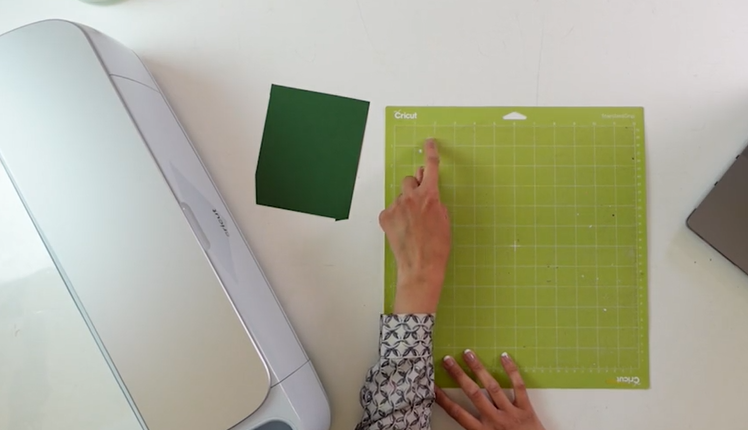
This method is also really handy for when you are using the foil transfer get, so you will do the same thing measure across and down in terms of the number of squares to get to the top left of your image and then take your foil sheet and place it on your mat to cover exactly that point another great use of this method of quantum.
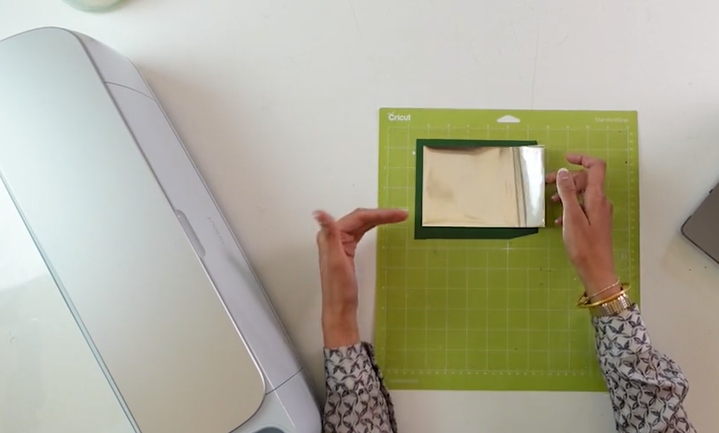
Squares are if you’re trying to use up your scrap bits of material, once you place your images on the mat in design space you can again just count the squares along and down to make sure that each piece of your card stock is being placed exactly where you place the image in design space.
Place your vinyl design
Sharing some tips to help you when creating projects with adhesive vinyl because honestly, there is nothing worse than placing a beautiful adhesive vinyl design down on your blank a little bit wonky and having to start all over again, first when you are cutting your transfer tape make sure to size the piece too closely match the size of your design that you have cutouts and also make sure that you cut your transfer tape along the lines of the grid printed on it. Really just helps to keep everything straight when you’re applying the tape onto the design and also when you are transferring your design onto your blank.
Once you have your adhesive vinyl design and you are applying your transfer tape. Try to align any straight edges or text in your design with the Grid on your transfer tape. This is really going to help when applying your design onto your blank, another great method is to use painter’s tape on your blank to create a straight edge that you can use at your Lionel design when placing it.
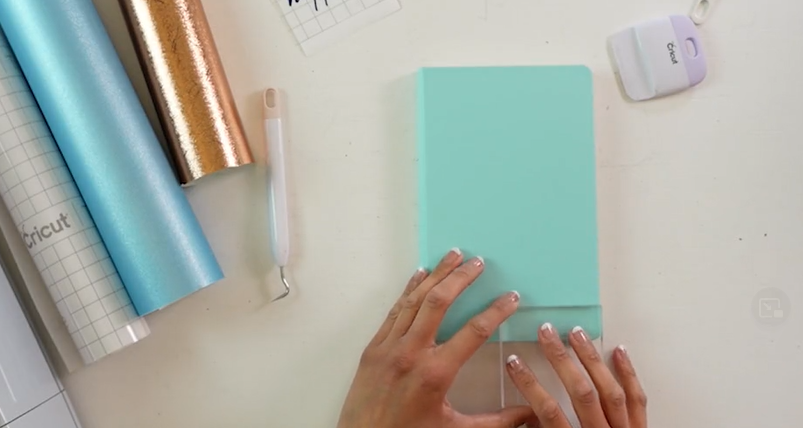
So if you have a square ruler or just anything with the right angle places it onto your blank and uses it as a guide to making sure that you are applying or taping onto your blank at exactly the right angle you can then use this as a guide. When placing your design onto the blank. Also, don’t forget to clean your blank with an alcohol wipe and a lint-free cloth just to make sure that there’s no dust or debris on your surface that might prevent the adhesive vinyl from bonding nicely with it.
This last tip is to use parchment paper when transferring your designs. So as a normal lead or a decent final design and then place the transfer tape on top but leave an extra half-inch of transfer tape above the top of your design. What you’ll do then is peel off the backing paper and transfer your design onto the parchment paper but leave of that half-inch of transfer tape at the top exposed this method, makes it much easier to reposition your Design if you’ve placed it slightly incorrectly Once you are happy with your positioning, then slowly peel away.
The parchment paper also lowers the transfer tape onto your penis. This method is really great for when you’re layering different colors of adhesive vinyl because you can make sure that each successive layer isn’t exactly in the correct position. Before you peel away the parchment paper.
Place your iron-on design
In this article, we will learn how to correctly place iron-on-designs onto t-shirts. So the first thing you can do in design space from the canvas is click on templates on the left-hand side and then browse down until you see classic t-shirts.
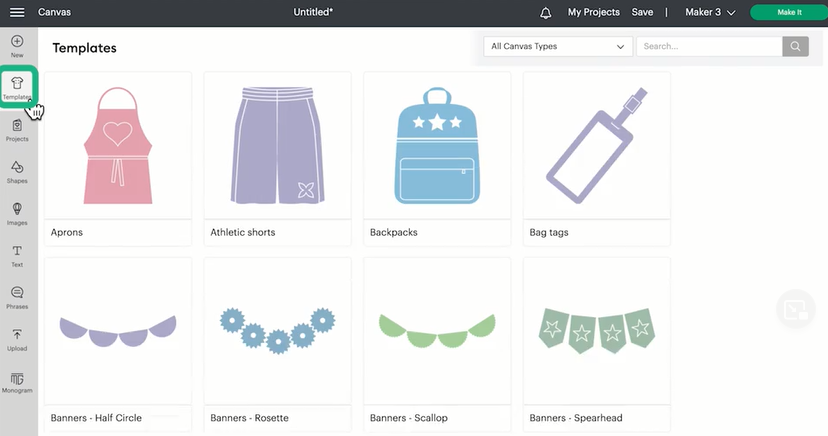
This will then place a template for at-shirt onto your canvas and by selecting the template layer in the right-hand side menu, you can change the style so you can have many men’s or women’s kids’ toddlers and babies and then you can also change the size. And so these templates will correspond with, you know, most commonly available t-shirts that you might be using for your designs, so you can simply use these templates to make sure that you have sized or designed correctly. Remember also to keep in mind the size of the easy press and for best results, Keep your design, it’s smaller than the size of your press, for example, I am using the nine-by-nine easy, press three.
So I will cut my design to be smaller than 9 and by 9 inches when sizing your designs, it’s also helpful to know that common t-shirt designs will leave at least 3 inches of space from either side of the T-shirt. Once you are ready to place your design, then these tips will help you place it exactly centered on your T-shirt. So if the decal is going on to the front of the T-shirt, then start by folding it exactly in half lengthways. And then use your easy press to iron in this crease.
Then open up the t-shirt and fold it under the arms and use your easy press to iron in this crease, so the point where you to ironed crease marks across is the exact center of the other half of your T-shirt and you can use this for placing your design, another good way of taking that you cater design correctly.
This is to see if there are at least two fingers worth of space from the bottom of the color to the top of your design. If your design is a pocket design but you are putting it onto at-shirt, which doesn’t have a pocket, then a good way to find the correct place to place it on your T-shirt is to draw a line down from the collar and across from the bottom of the arms and where these two points meet is where you should place your design in terms of sizing when you’re doing pocket, designs for adults, you want to go for four by four inches at the maximum and four kids’ t-shirts, three by three inches.
